My old-fashioned butter cookies are the kind of treat that disappear as soon as they hit the plate. They're rich and soft with just the right amount of sweetness...they're melt-in-your-mouth good! Made with a touch of orange zest and vanilla.

It's cookie season, and I'm kicking things off with this simple butter cookies recipe. They're a Christmas cookie that's soft, buttery, and not too sweet...the kind of treat that feels a little nostalgic this time of year. Just like so many of my Southern cookie and dessert bar recipes that are easy to bake at home that I make during the holiday season.
Do you remember those tins of butter cookies that always show up in stores around the holidays? They come tucked in the crinkly cupcake liners and taste like my childhood. Everyone had a favorite shape (I always went for the swirl first!), and even though they all tasted the same, there was just something special about them. This traditional Christmas cookies recipe has that same familiar charm...rich, soft, and perfectly sweet without being over the top.
So grab your mixing bowl…let's bake!
Different Methods for Shaping
Like many traditional Christmas cookies recipes, these cookies can be made in a couple different ways...piped, pressed, or slice-and-bake. It's all about what works best for you and is a total personal preference.
I have detailed each way of doing these with instructions and equipment needed in the recipe card below.
Decorating Ideas
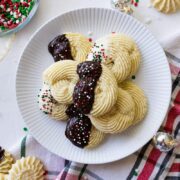
For a classic traditional Christmas cookies recipe look, sprinkle coarse sugar on top before baking to mimic those nostalgic blue tins.

You can also leave them plain or dip in melted chocolate with sprinkles. To melt chocolate, use a double boiler: place a heatproof bowl over a pot of simmering water, add ½-1 cup chocolate chips, and stir until smooth (about 10-15 minutes). Dip cookies halfway, set on a baking sheet, and add sprinkles if desired. Let cool until hardened.

Recipe
Melt-In-Your-Mouth Old Fashioned Butter Cookies
- Total Time: 40 Minutes
- Yield: 36 1x
Description
My old-fashioned butter cookies are the kind of treat that disappear as soon as they hit the plate. They're rich and soft with just the right amount of sweetness...they're melt-in-your-mouth good! Made with a touch of orange zest and vanilla.
Ingredients
- 1 Cup Butter - softened to room temp
- 1 Cup Sugar
- 2 Eggs
- 3 Cups Flour
- Zest of ½ and Orange
- 1 Teaspoon of Vanilla or Vanilla Bean Paste
- ⅛ Teaspoon Salt
- 1-2 Tablespoons of Milk
Instructions
- Preheat the oven to 325 degrees.
- In a stand mixer, add your softened butter and sugar and beat with a paddle attachment for 3-4 minutes. You want this to become light and airy and white in color.
- Add in eggs 1 at a time and mix on low just until they are combined.
- Add in the flour, orange zest, vanilla, salt, and milk. Mix until just combined and the dough is together. It will be a thicker dough but the milk will help thin it slightly to be pipeable.
Methods of Baking Butter Cookies
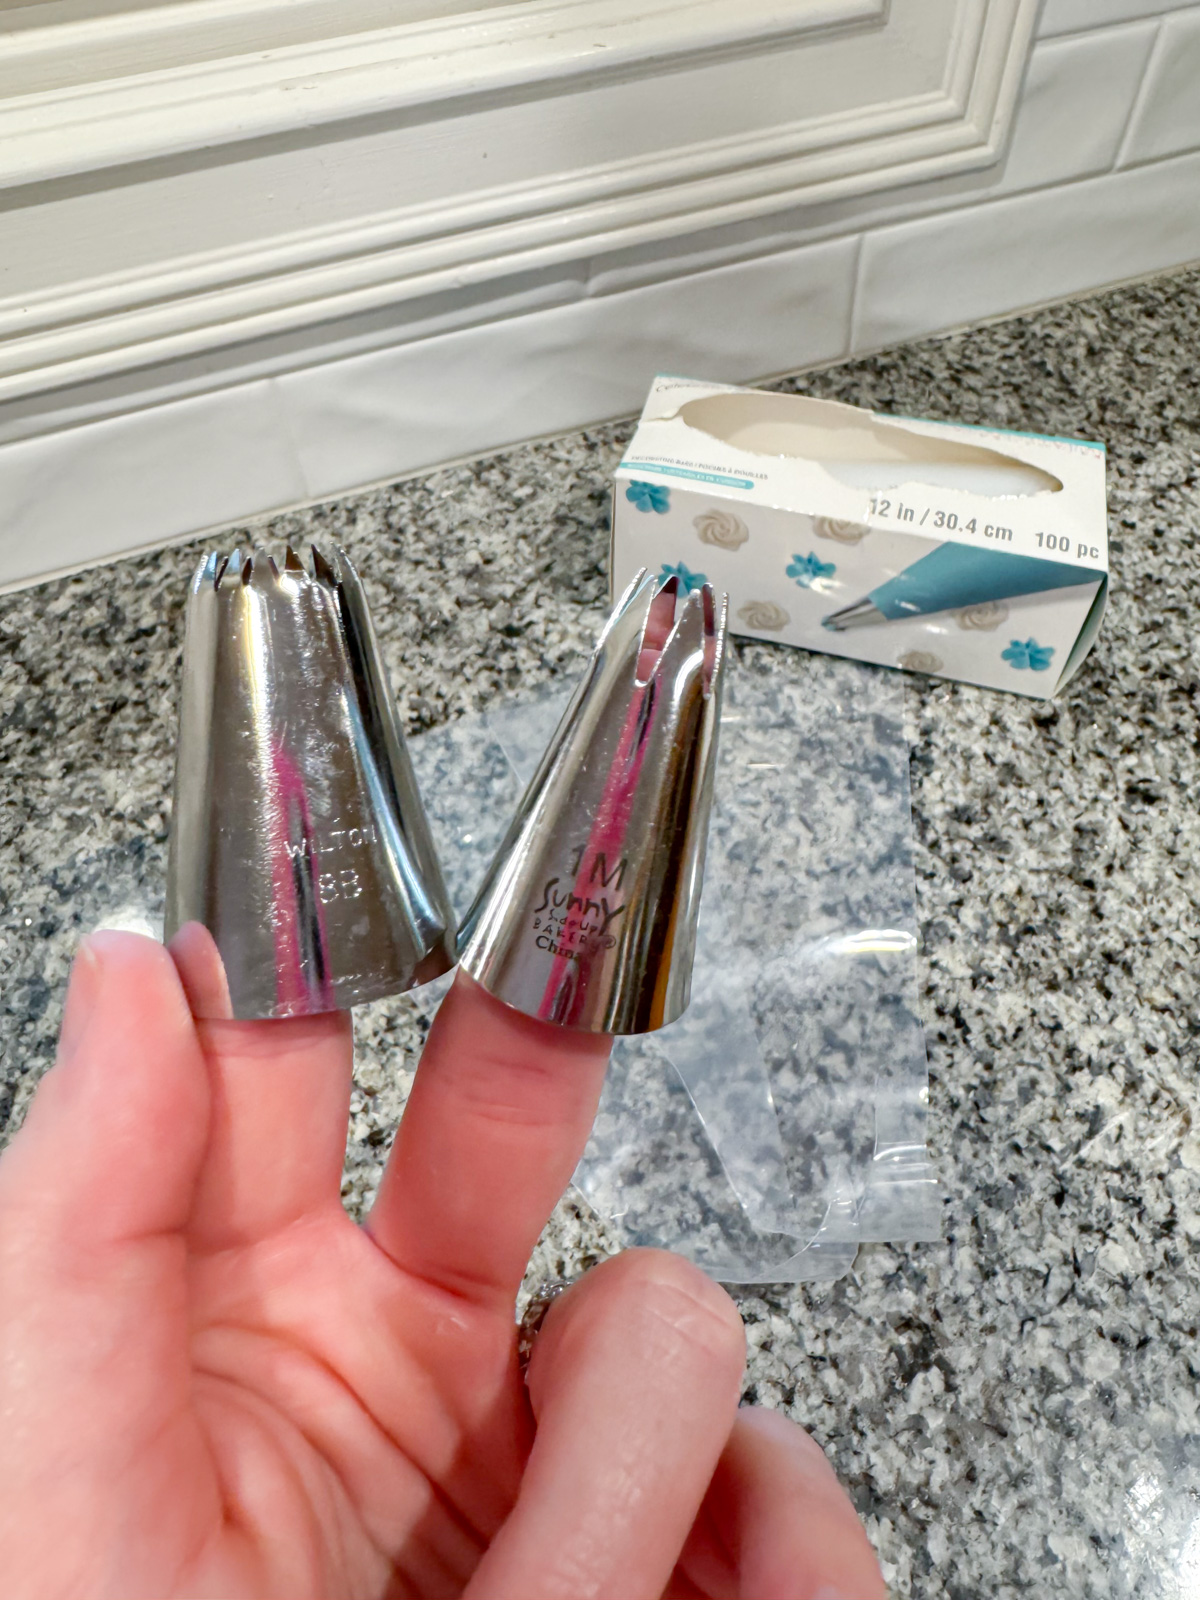
Piping
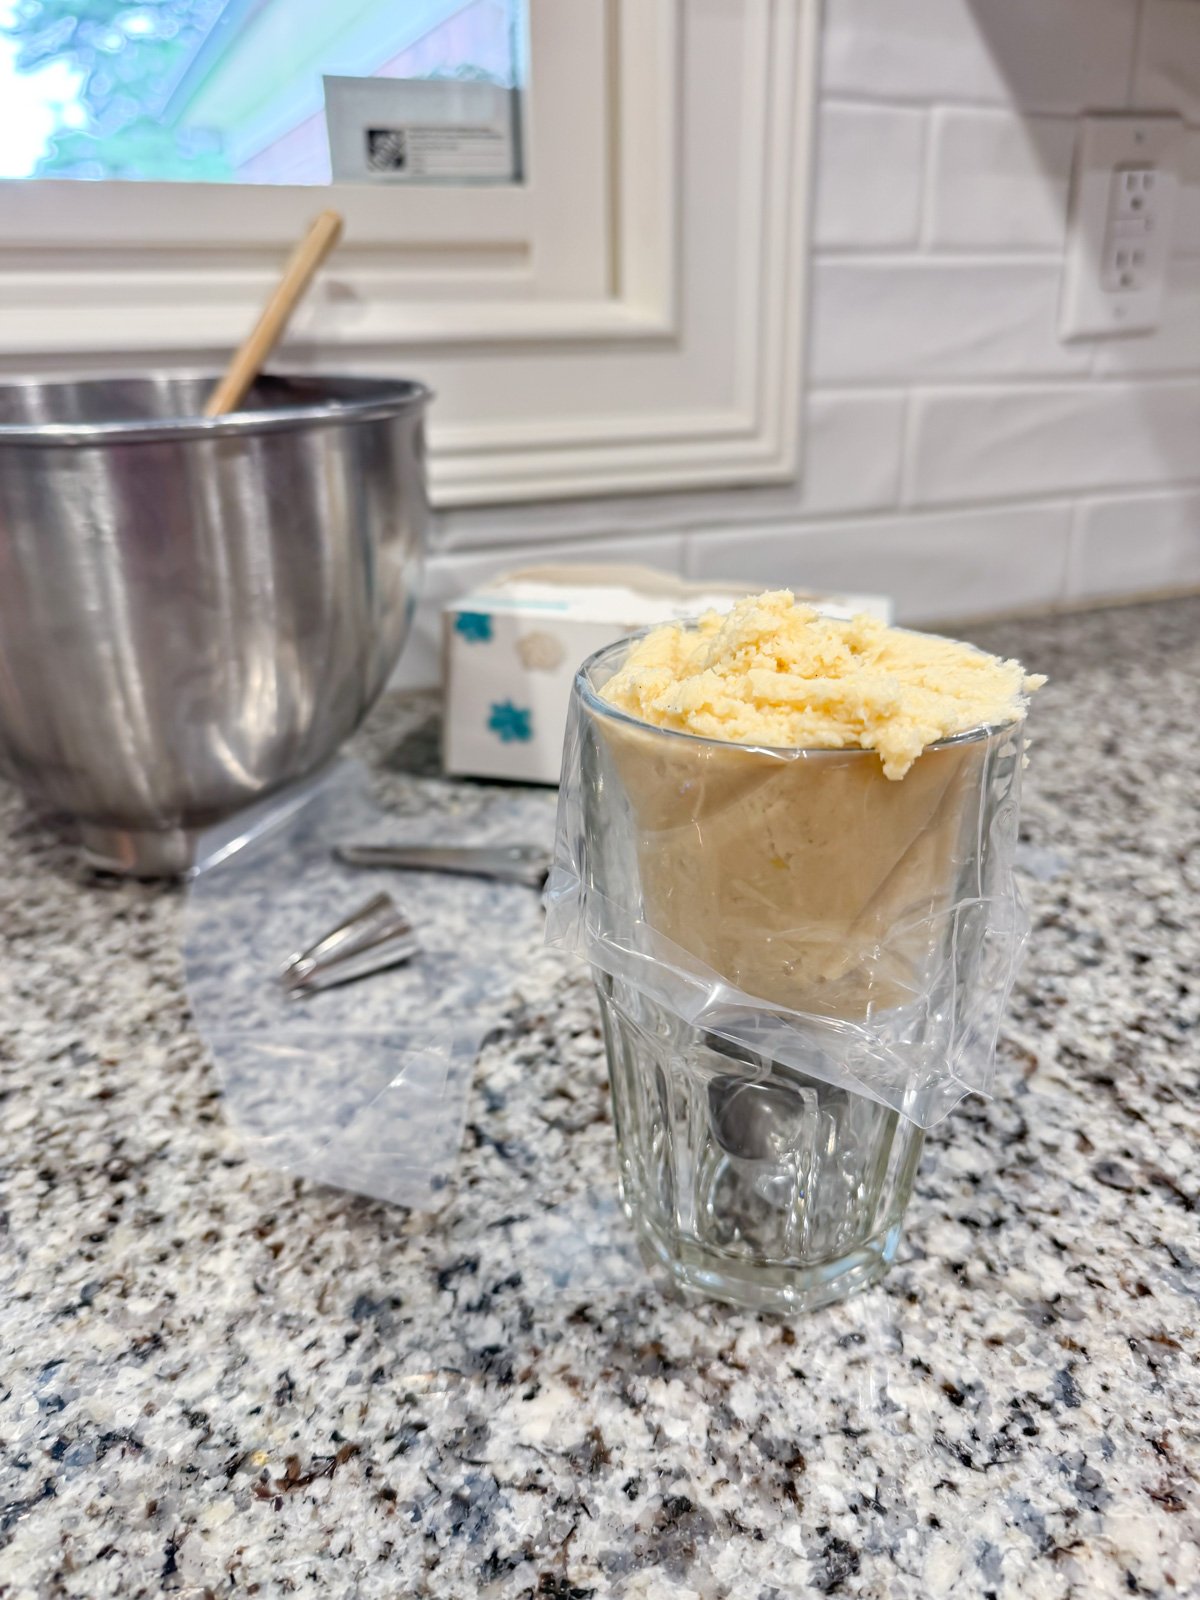
- Place a Wilton 8B open star piping tip into a heavy-duty piping bag. Snip the tip of the bag to show the tip and fill the bag with about half of the cookie dough.
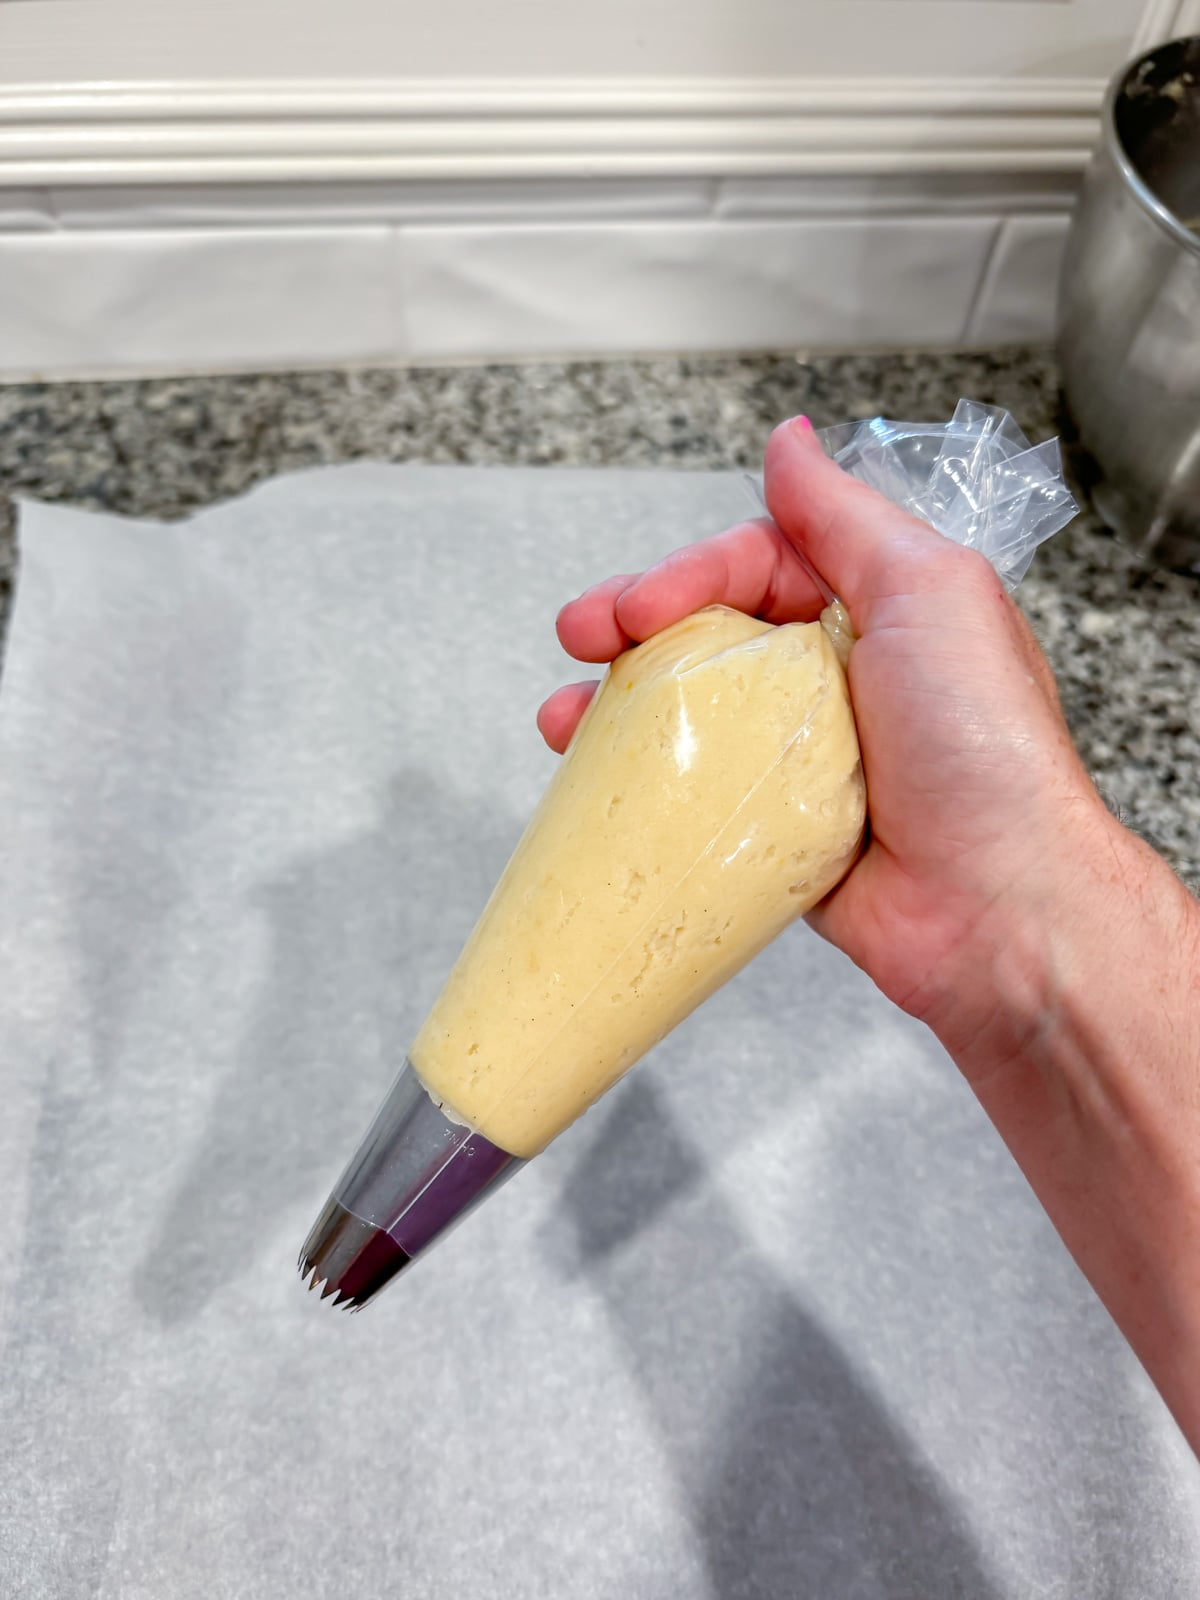
- Massage the dough to warm up with your hands. This batter will be thick. The milk helps thin slightly to make it easier to pipe, but do not add too much milk otherwise, the cookies will spread when baking. Massaging the dough will help warm it up a little and make it a little easier to pipe. Do not be worried if you struggle. It will get easier the warmer the dough is. Just be patient with it and take breaks if needed.
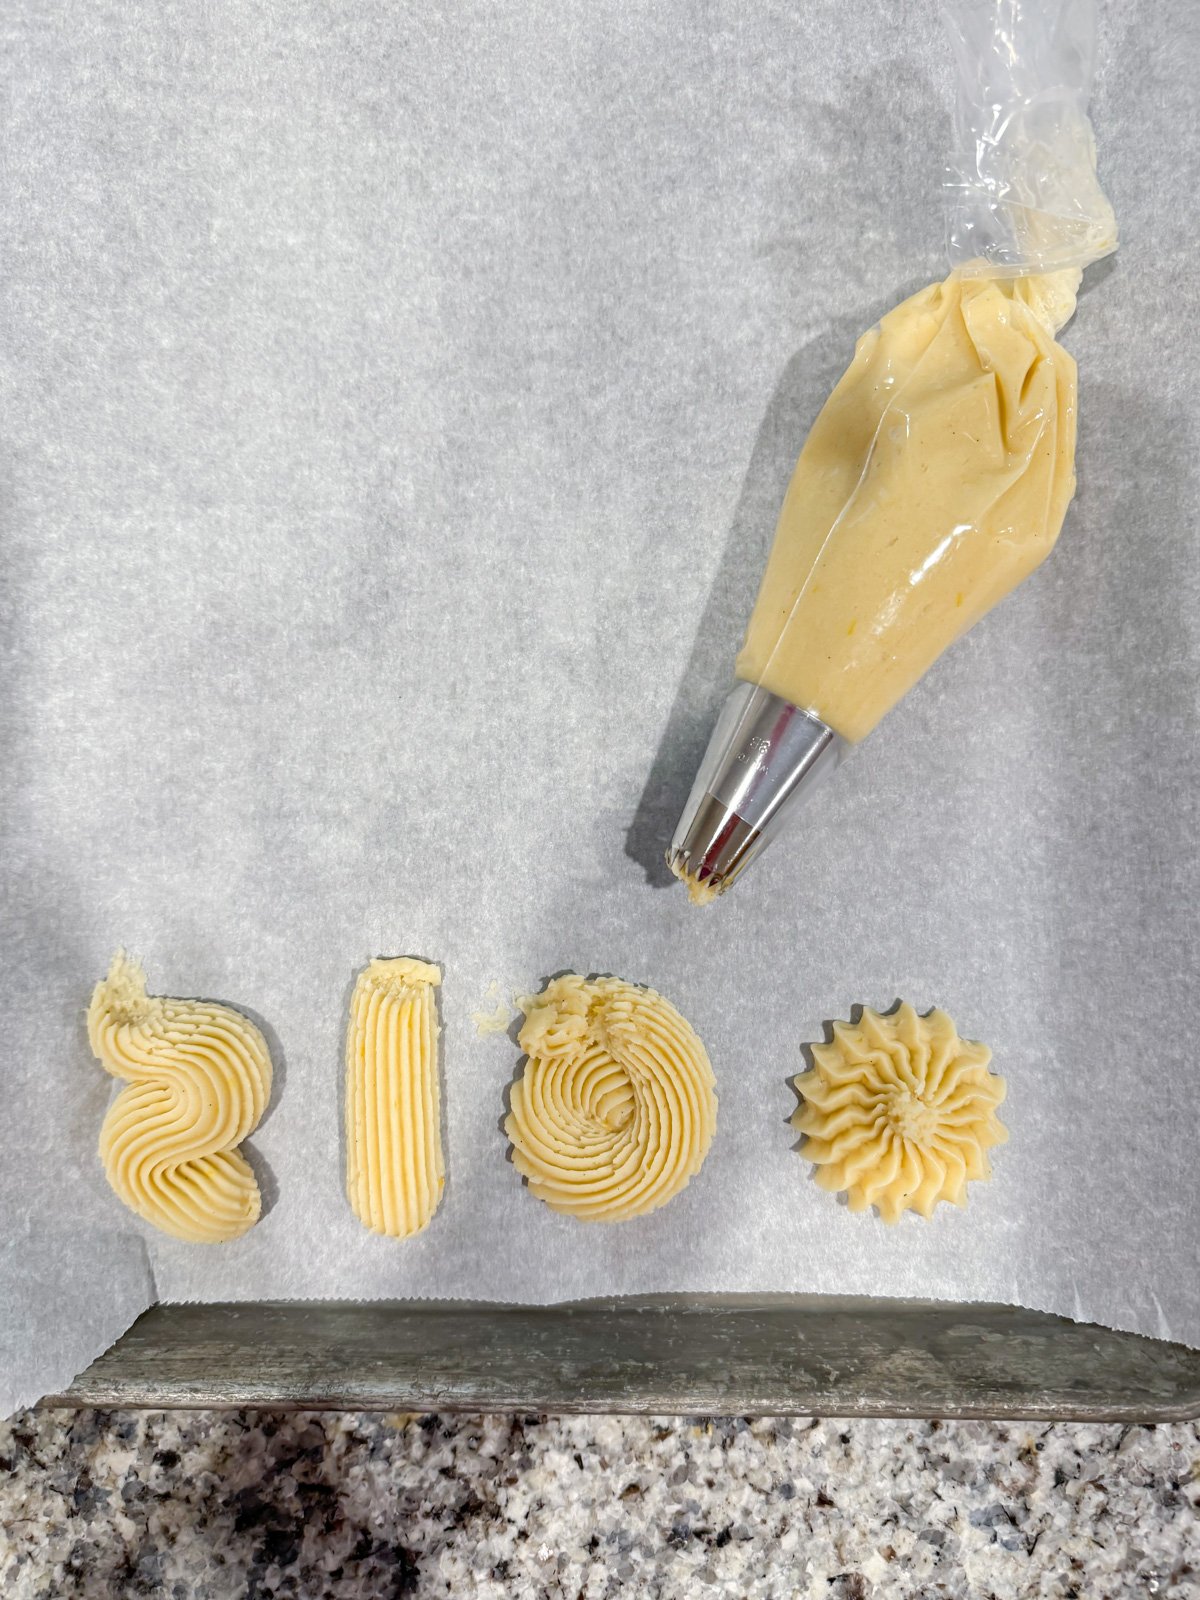
- Pipe into a spiral or straight up and down making a star.
- Repeat until all the dough is used.
- Place into the oven for 14-15 minutes and until the edge is just barely light brown.
- Remove and let cool for 10 minutes.
Spritz Cookie Press
- If you have a cookie press, this recipe is perfect for it!
- Place the dough into the cylinder. Add whatever design disk to the press. Press out the dough according to the instructions.
- Place into the oven for 14-15 minutes and until the edge is just barely light brown.
- Remove and let cool for 10 minutes.
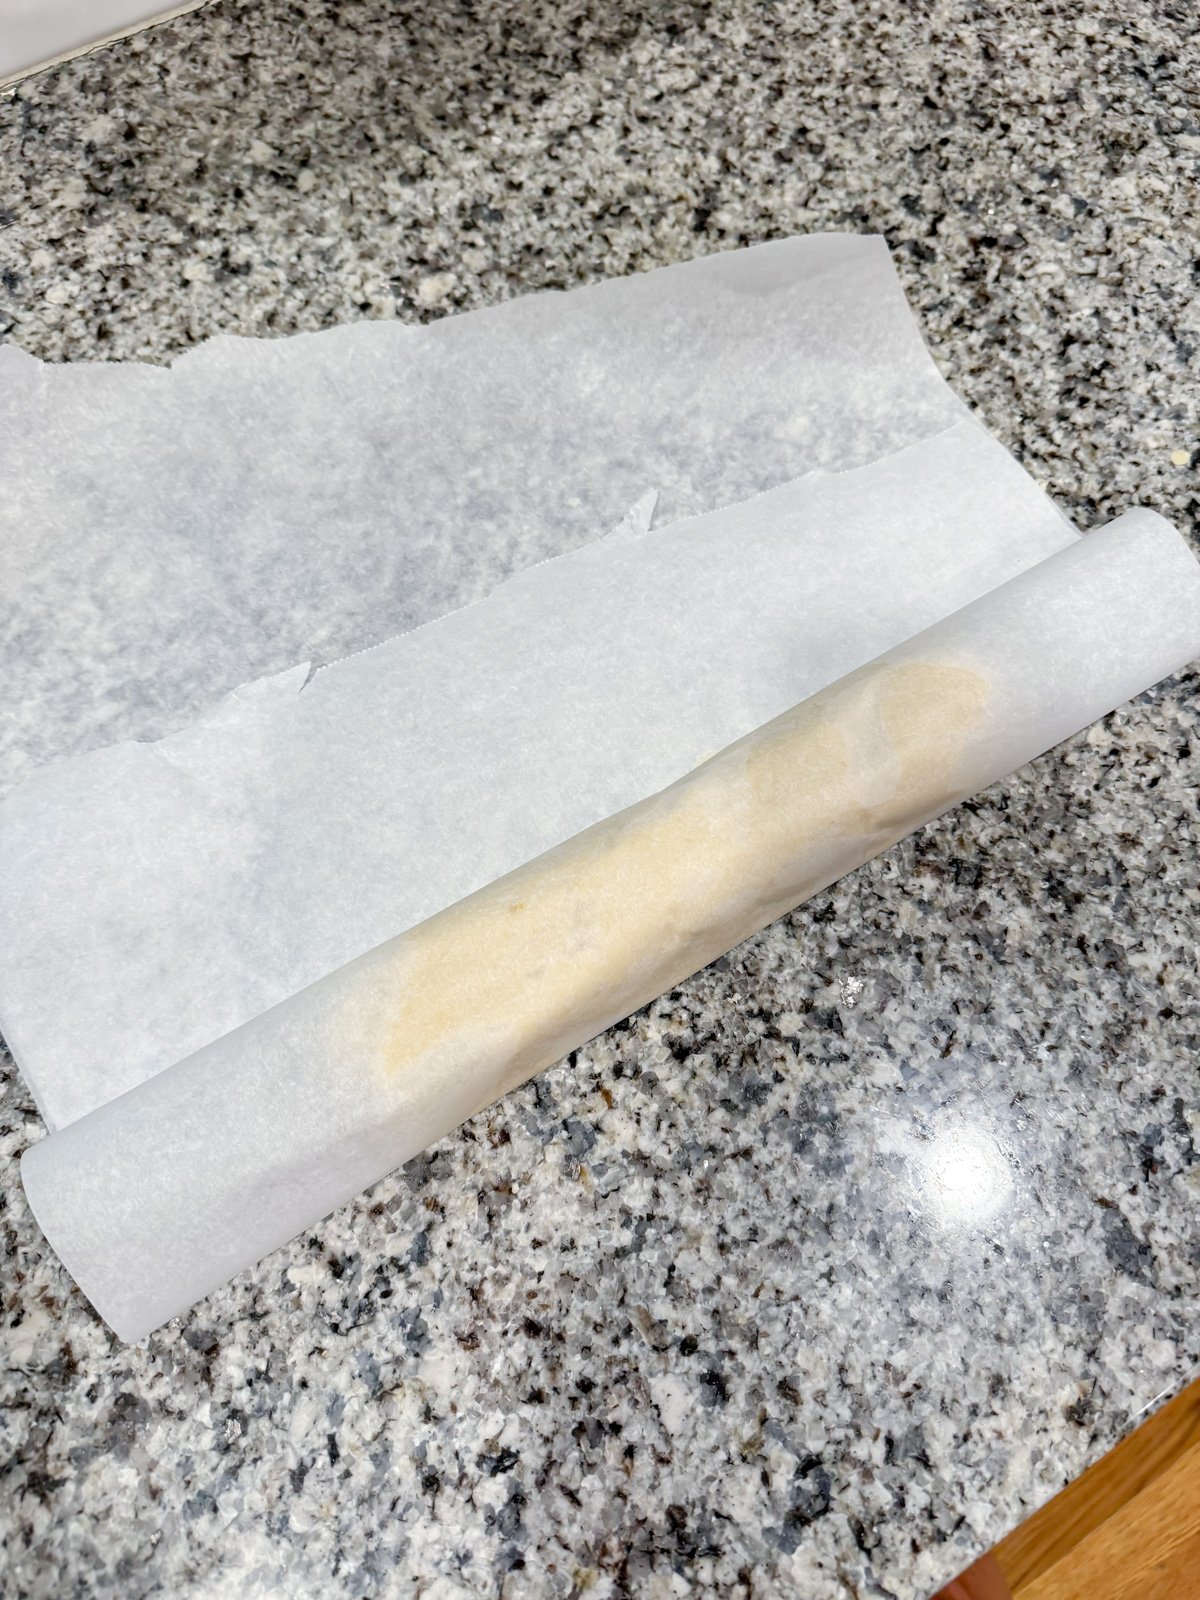
Slice and Bake
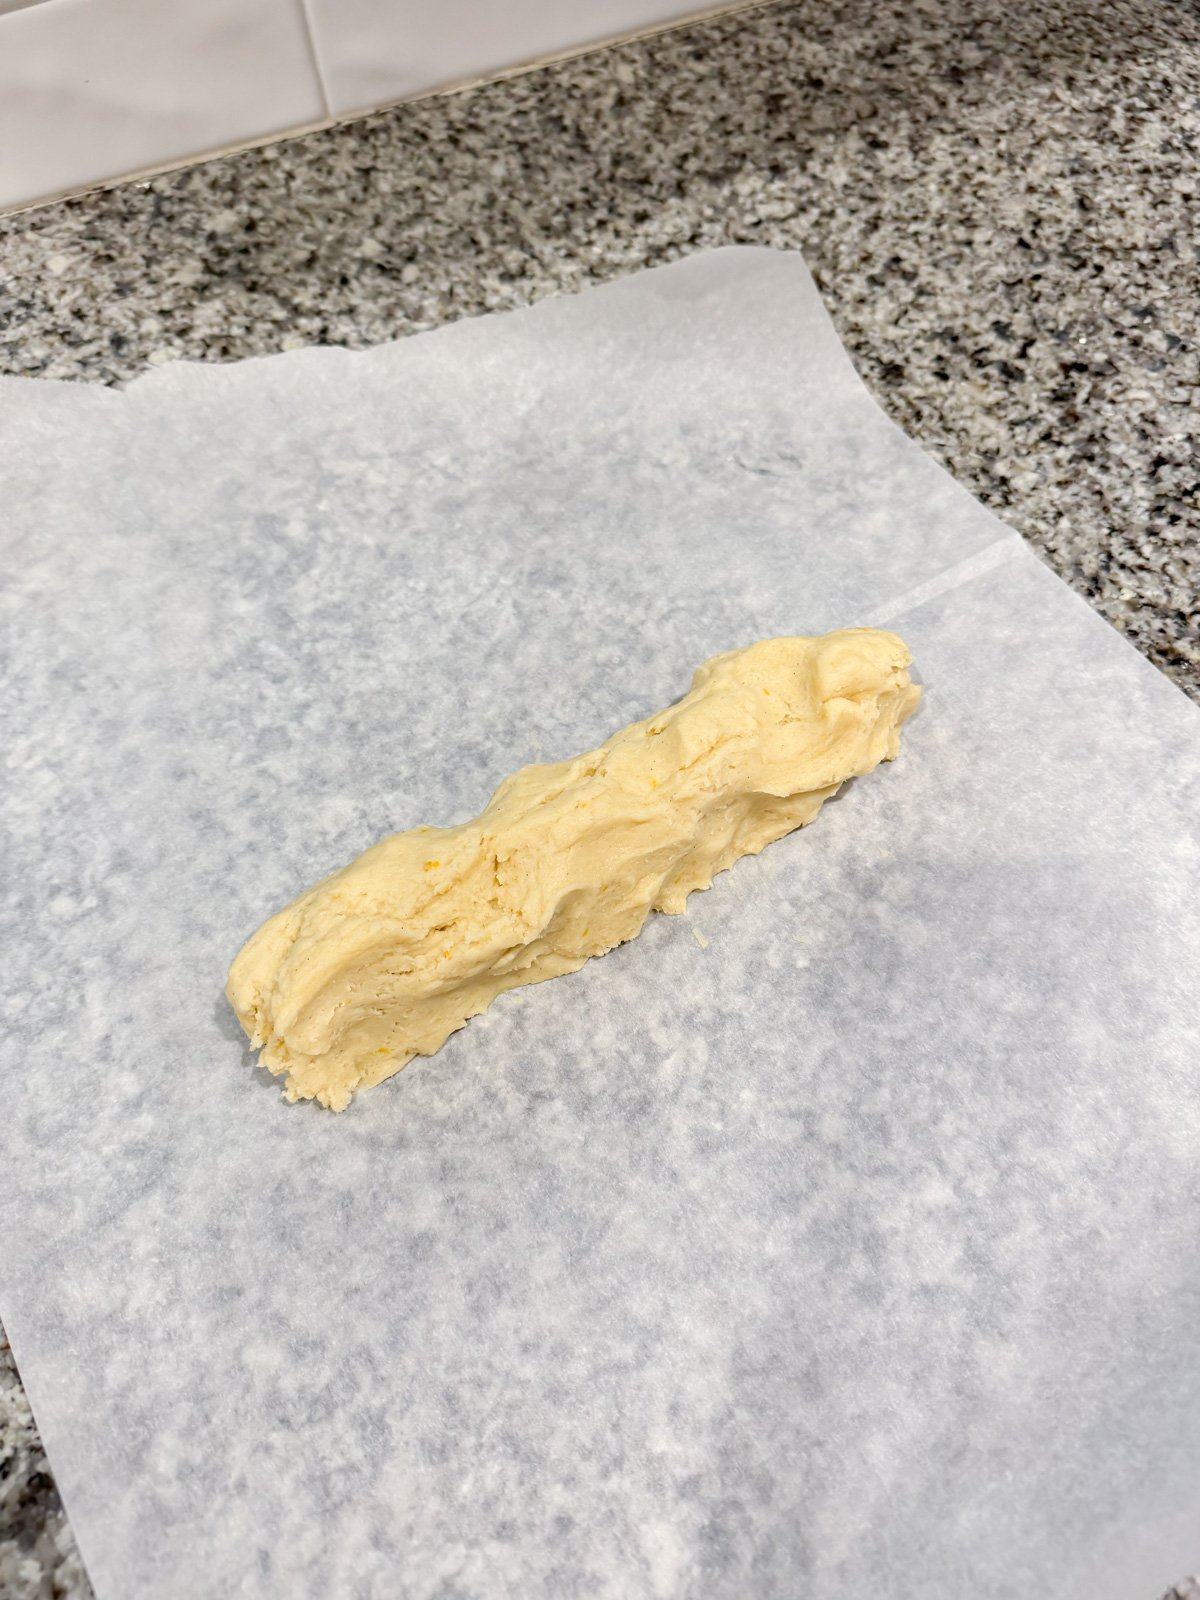
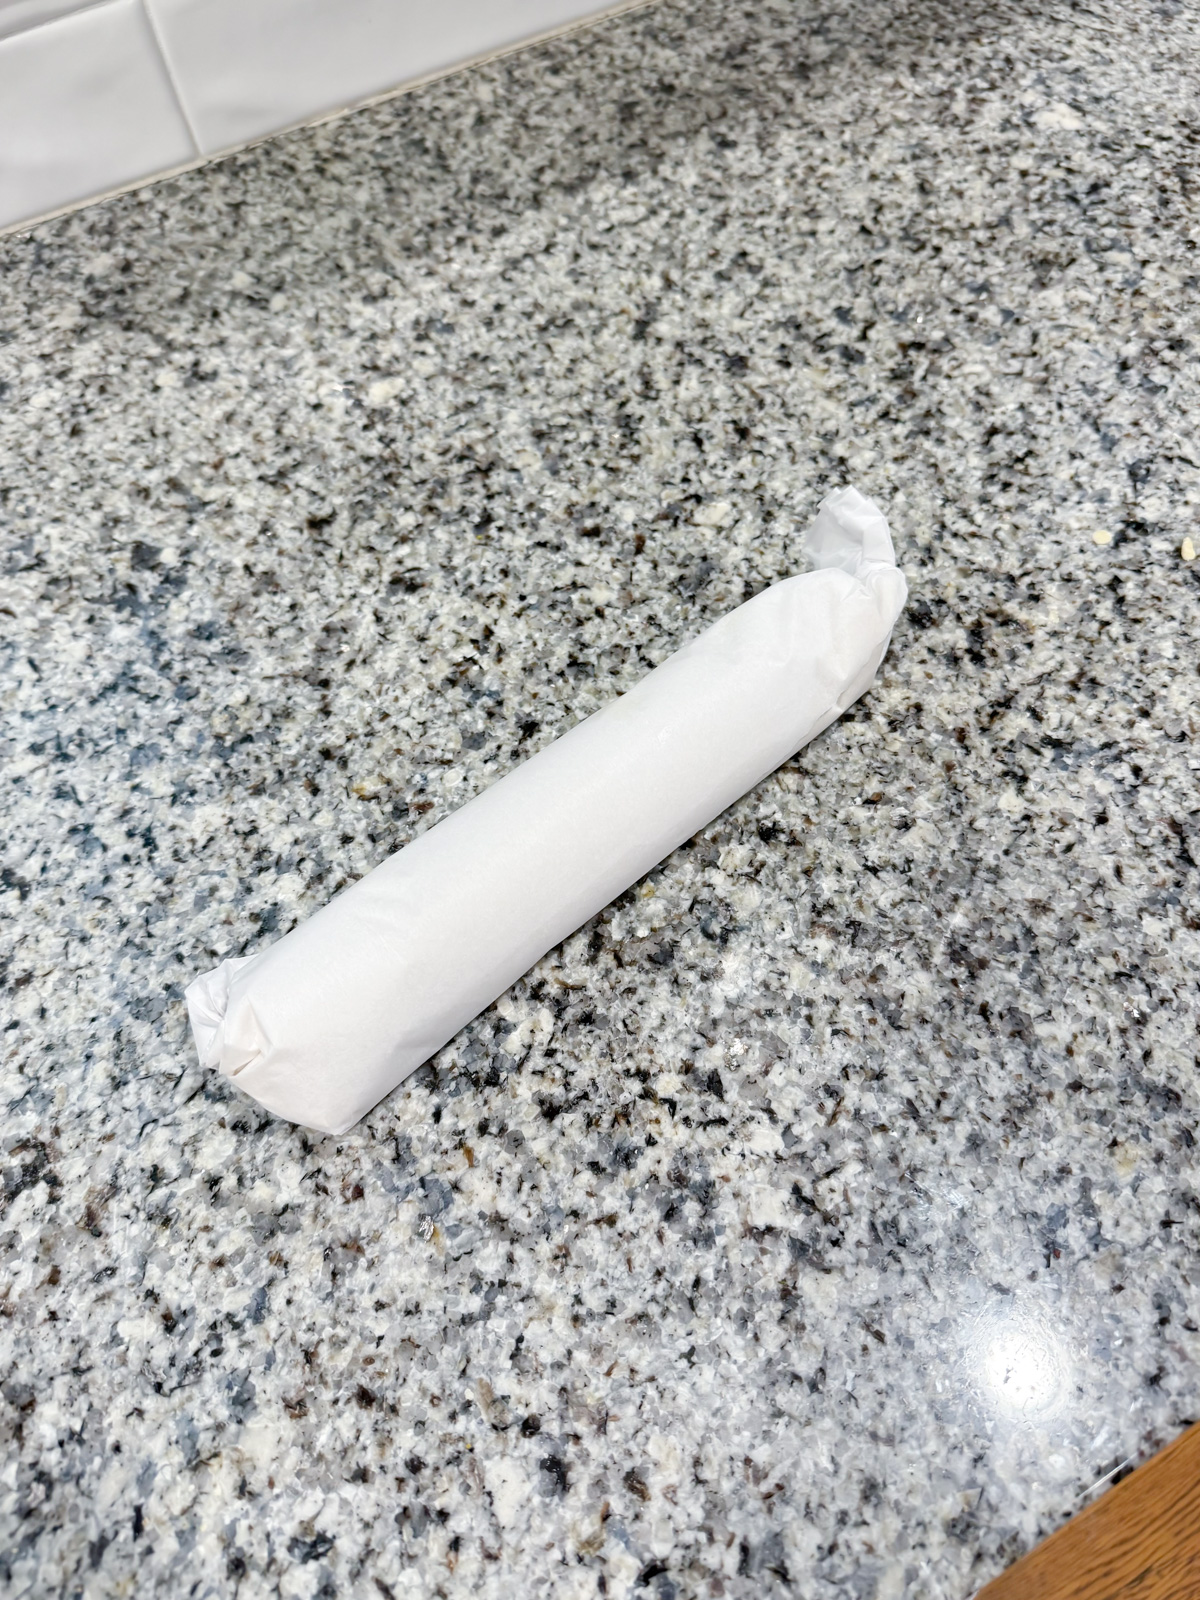
- Place your butter cookie dough onto wax paper, parchment paper, or plastic wrap. Form into a long evenly sized log. Wrap tightly all the way around and on the ends.
- Place in the fridge to chill for an hour.
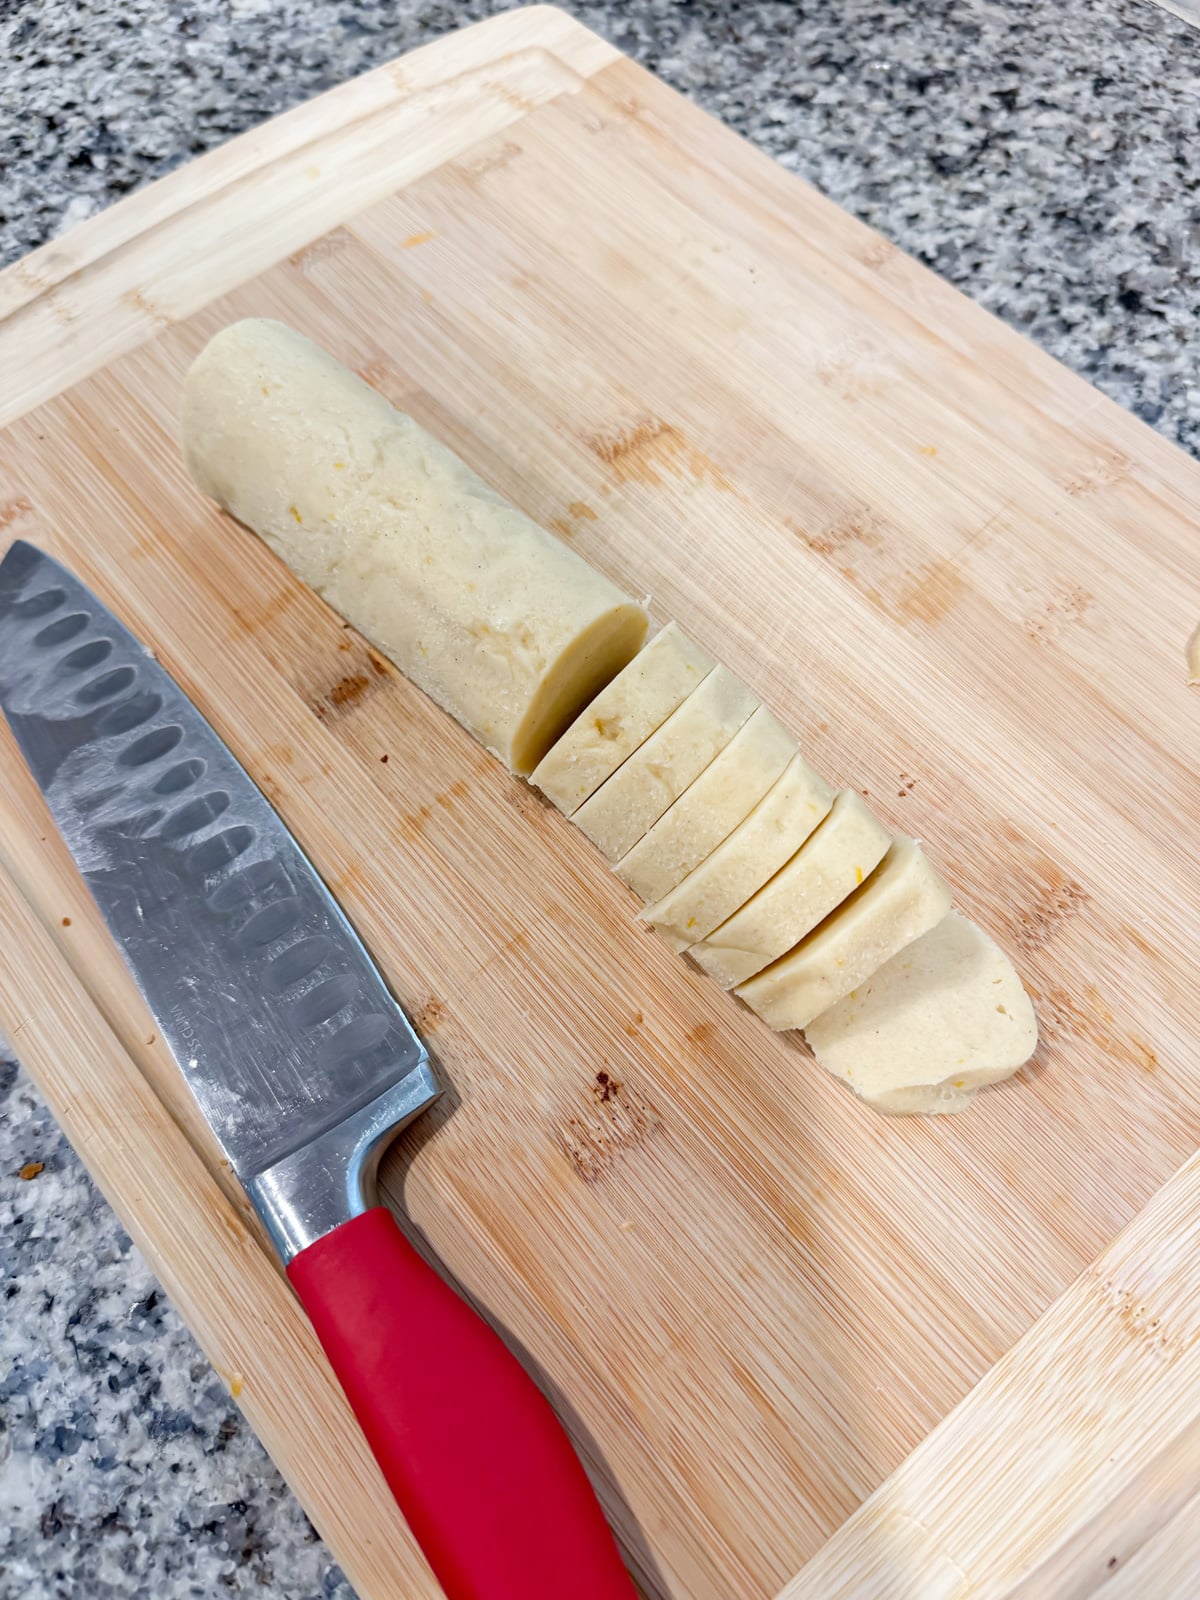
- When ready to bake, remove from the fridge, unwrap, and slice off about a ¼" slice and place on a baking sheet lined with parchment paper.
- Repeat with the desired amount of cookies. Place into the oven for 14-15 minutes and until the edge is just barely light brown.
- Remove and let cool for 10 minutes.
- The dough can be kept in the fridge for up to a week. Slice and bake off as many or few as you wish.
How to Decorate
- Place a medium-sized pot filled with water about halfway up on the stove over medium-low heat. Bring to a simmer.
- Place a large heatproof glass bowl, over top of it, and dump in about ½-1 cup of semi-sweet chocolate or white chocolate chips. This double broiler method will allow the chocolate to slowly melt without burning or separating.
- Stir the chocolates every now and then as they melt. This will take about 15-20 minutes to fully melt.
- Once melted and smooth all the way through, dip each cookie in about halfway and place back on a baking sheet to let cool and harden. Leave as is or top with sprinkles if you desire. Repeat until all are finished.
Notes
- The cookies can be enjoyed plain or decorated with chocolate and sprinkles. Mix up the sprinkles for each holiday!
How to Freeze
- Once the cookies are cooled completely. Place in a freezer-safe zip-top bag, container, or vacuum seal. Place in the freezer for 3 months (or a year if vacuum-sealed). Remove from freezer and place on a platter and allow to come to room temp when ready to enjoy. Chocolate-dipped cookies can be stored the same way.
- Prep Time: 30 Minutes
- Cook Time: 10 Minutes
- Category: Cookies
- Method: Baking
- Cuisine: American
Nutrition
- Serving Size: 1 cookie
- Calories: 164
- Sugar: 8.5 g
- Sodium: 7.6 mg
- Fat: 8.2 g
- Carbohydrates: 20.5 g
- Fiber: 0.4 g
- Protein: 2.2 g
- Cholesterol: 35.8 mg