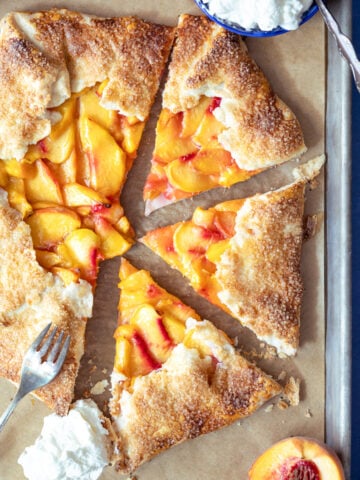
This Southern homemade pie crust is a cherished staple in my kitchen-passed down from my mama and perfect for just about any classic Southern recipe. Made with just 5 simple ingredients, including a mix of butter and lard, it bakes up beautifully flaky and flavorful thanks to that combo. This recipe yields two crusts-just right for a double-crust pie (for recipes like cast iron peach pie) or two single-crust recipes (for recipes like quiche). I've included step-by-step instructions and my modern day Southern gal simple tips leaving you covered for any pie crust scenario. You'll never reach for the store-bought kind again.
Heather's Love Affair with Homemade Pie Crust
I will go ahead and say it...I don't understand why anyone buys store-bought pie crust. 🤷♀️
Now, don't get me wrong-I'm all for ease and convenience in the kitchen (and in life). But as a Southern cook, I firmly believe there are some things that are just meant to be made from scratch-and pie crust is one of them.
Truth is, pie crust can seem complicated. Blind bake this, fully bake that-it's enough to make your head spin. My mom and I were just talking about this in my kitchen as I was recipe testing this week (ps - this is one of the first recipes she taught me to make).
But here's my take as a modern-day Southern girl - let's keep it simple. Honor tradition, but make it work for your real life right now. When it comes to pie crust, less is more-and I'm going to show you just how easy and worth it homemade can be.
P.S. I promise this is still better than anything you'll find in the freezer aisle. 😘
⭐️Heather's Personal Tip #1 ⭐️ I like to use combo butter and lard in this recipe. You will find a lot of recipes that either use all butter or all shortening (my mom actually uses all shortening) - but I like to use a mixture of both. The lard gives you the flakiness all homemade pie crusts are known for, but adding in the butter gives you a rich flavor that I love. It's the best of both worlds IMO.

⭐️ BEFORE YOU START PRO TIP ⭐️- dice your butter into small cubes so that it is easier to cut into the flour to start!


⭐️Heather's Personal Tip #2 ⭐️ this step can also be achieved with a food processor and it takes a little less time and I like to do often.


From here, there are a few different ways to bake your pie crust, and it really just depends on what kind of pie you're making. As a modern-day Southern gal who loves keeping things simple, here's how I break it down:
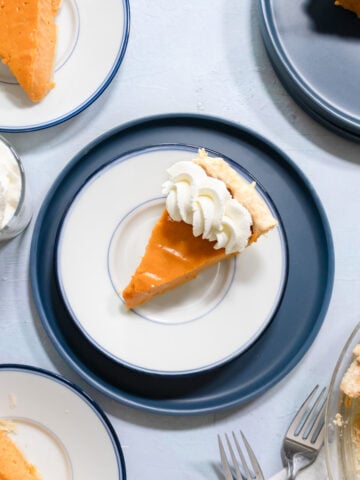
- For pies with a wet or custard filling (like pumpkin pie or my mixed breakfast veggie quiche), skip the blind bake. Just press your crust into the pie dish, pour in your filling, and bake as directed. The sides and top will still get golden and flaky-the bottom may not be quite as crisp, but it'll be cooked through and still delicious. Sometimes saving a step is worth it - make it simple and easy!
- For cream or no-bake pies (like coconut cream or lemon meringue), you'll want to fully bake your crust. Press the crust into your pie dish, line with parchment paper and fill with dried beans or pie weights. Bake at 375°F for 30-35 minutes, or until golden and cooked through. Let cool for 10 minutes before removing the weights. Then proceed with the recipe as directed.
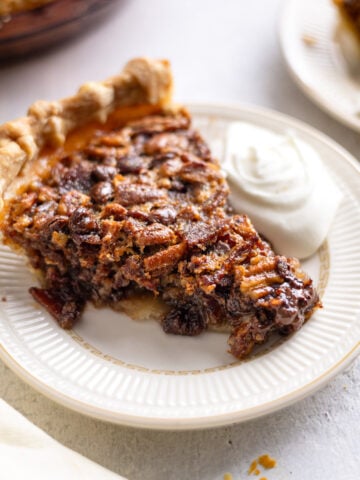
- This recipe makes 2 crusts, which is perfect for pies that need a top and bottom crust, like Granny Smith apple pie or peach pie. If you're only using one, you've got options!
- To freeze for later: Prep your extra crust in a pie plate, flash freeze for 30 minutes, then wrap tightly in plastic wrap (three times!) and store in the freezer for up to 6 months. Say hello Thanksgiving prep done ahead of time!
- To chill for later: Wrap your pie crust tightly and keep it in the fridge for up to 2 days until you're ready to use it.

Recipe

Southern Homemade Pie Crust (Lard or Shortening)
- Total Time: 20 minutes
- Yield: 2 crusts 1x
Description
This Southern homemade pie crust is a cherished staple in my kitchen-passed down from my mama and perfect for just about any classic Southern recipe. Made with just 5 simple ingredients, including a mix of butter and lard, it bakes up beautifully flaky and flavorful thanks to that combo. This recipe yields two crusts-just right for a double-crust pie (for recipes like cast iron peach pie) or two single-crust recipes (for recipes like quiche). I've included step-by-step instructions and my modern day Southern gal simple tips leaving you covered for any pie crust scenario. You'll never reach for the store-bought kind again.
Ingredients
- 2 Cups Flour
- 6 Tablespoons Butter
- 6 Tablespoons Lard
- 1 Teaspoon Salt
- 5-10 Tablespoons Ice Water + more if needed
Instructions
-
- In a large bowl, combine the flour, salt, cold butter, and lard.
- Use a pastry cutter to cut the fats into the flour until the mixture looks like small peas.
- Fill a glass with ice water. Add 5 tablespoons of the cold water to the flour mixture and stir with a fork or spatula. Add more water, a tablespoon at a time, until the dough just starts to come together. It should hold when squeezed but not feel sticky or wet. (I have used up to 8-10 tablespoons total.)
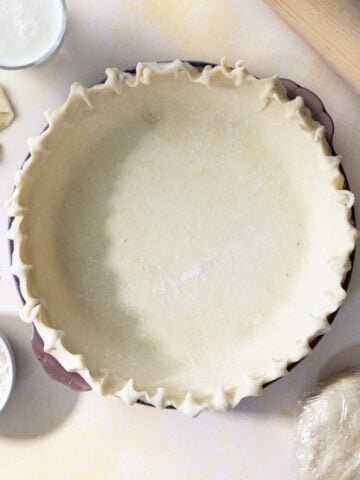
- Lightly flour your counter and turn the dough out. Bring it together into a ball, then divide in half to make two dough balls-this recipe makes two crusts.
- Roll one dough ball into a circle, slightly larger than your pie plate.
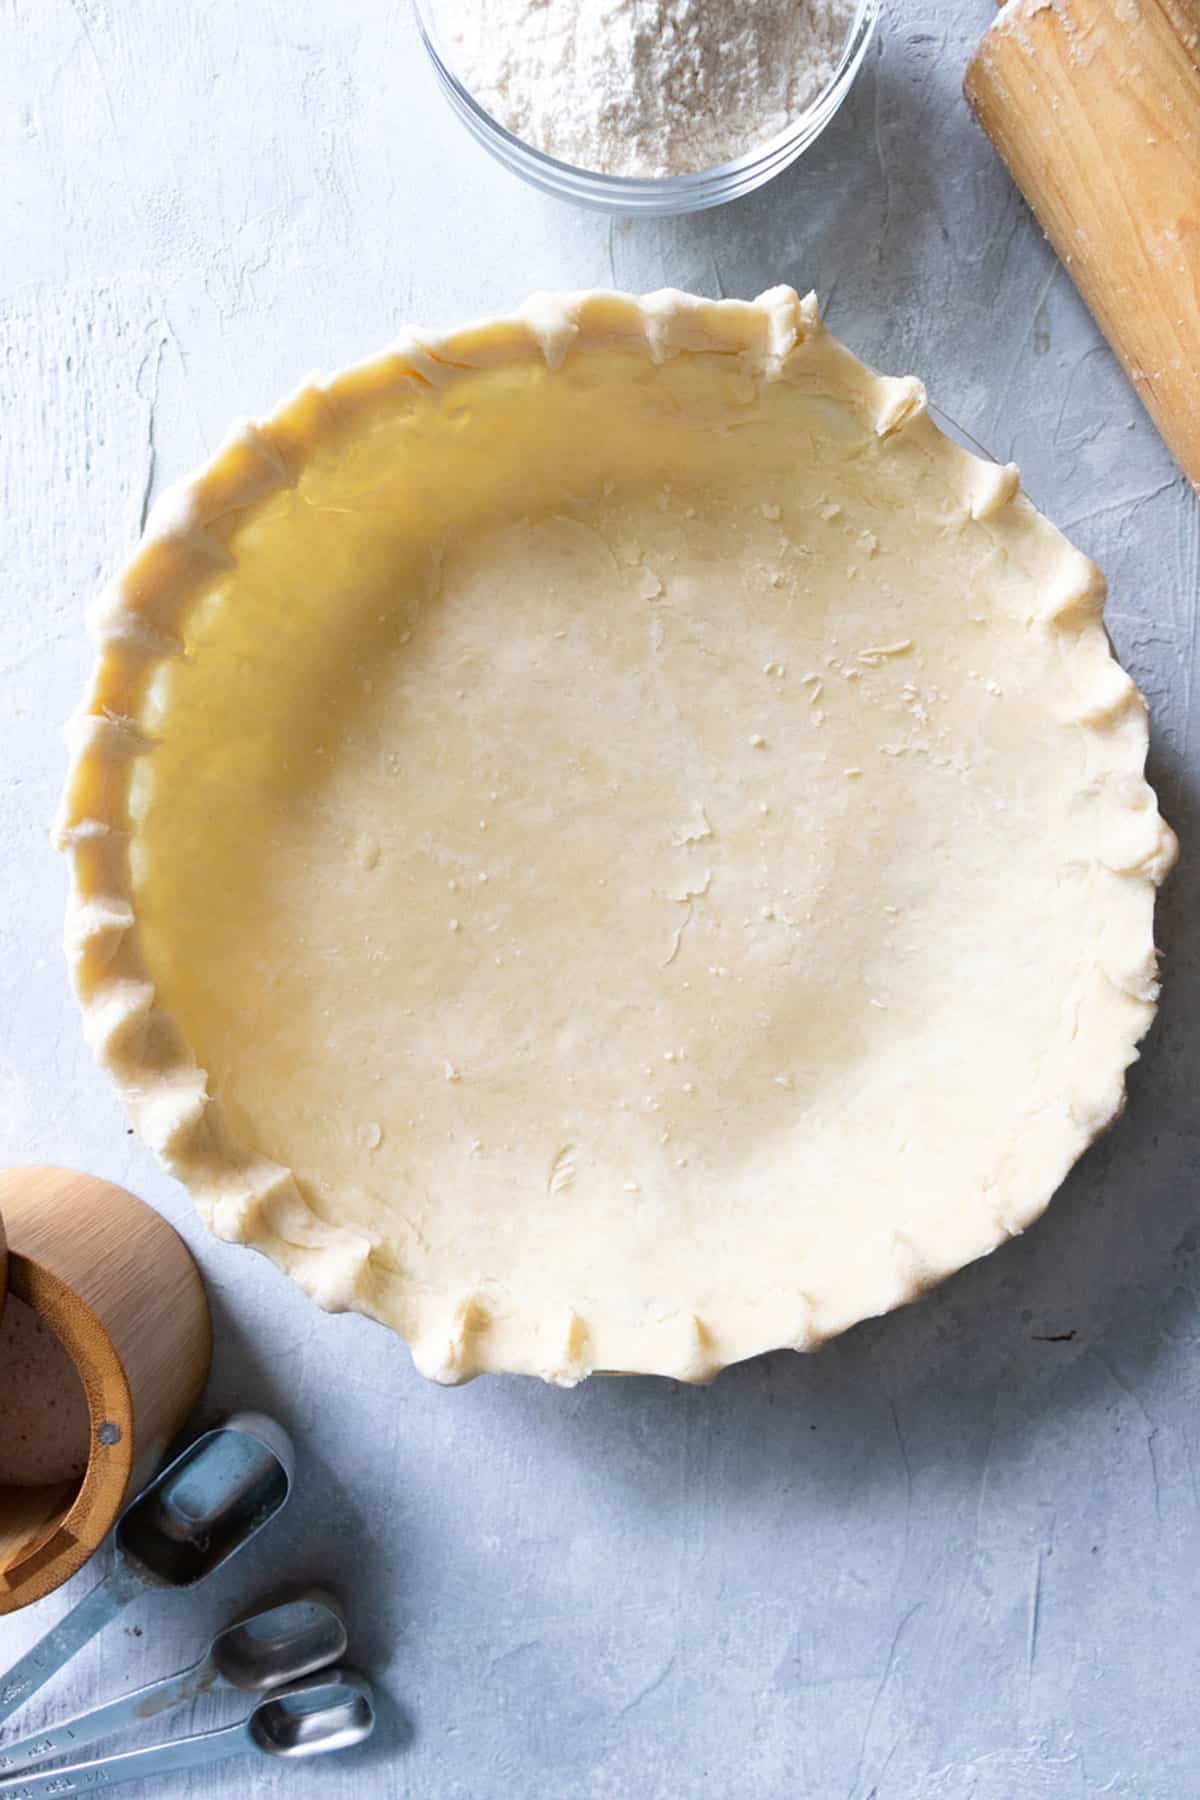
- Gently lift the dough and place it into the pie plate, pressing it evenly into the bottom and sides.
- Trim any overhang, then crimp the edges using your fingers (fold excess under itself, then pinch gently with your thumbs and forefingers to make a fluted edge).
- Repeat with the second crust, use it as a top crust, or prepped in pie plate, wrap and freeze for later.
Notes
Pie Crust Tips
- No-bake pies? Fully bake the crust at 375°F for 30-35 minutes with pie weights.
- Custard pies? Skip blind baking-just fill and bake! The sides get flaky, the bottom stays tender.
- Only need one crust? Freeze the second in a pie plate-wrap well and store for up to 6 months.
- Make ahead? Wrap and refrigerate dough for up to 2 days.
- Prep Time: 20 minutes
- Cook Time: 0 minutes
- Category: Dessert
- Method: Baking
- Cuisine: American
Nutrition
- Serving Size: 1 crust
- Calories: 1107
- Sugar: 0.4 g
- Sodium: 1169.9 mg
- Fat: 74.2 g
- Carbohydrates: 95.4 g
- Fiber: 3.4 g
- Protein: 13.3 g
- Cholesterol: 128.1 mg
DISCLOSURE. SOME OF THE LINKS BELOW ARE AFFILIATE LINKS, WHICH MEANS THAT IF YOU CLICK ON A PRODUCT LINK, I MAY RECEIVE COMPENSATION. THIS COMPENSATION COMES AT NO ADDITIONAL COST TO YOU, AND AS ALWAYS I ONLY RECOMMEND PRODUCTS I TRUST! HEATHER BILYEU IS A PARTICIPANT IN THE AMAZON SERVICES LLC ASSOCIATES PROGRAM, AN AFFILIATE ADVERTISING PROGRAM DESIGNED TO PROVIDE A MEANS FOR SITES TO EARN ADVERTISING FEES BY ADVERTISING AND LINKING TO AMAZON.COM.