Once you taste this buttermilk pie crust, you'll never reach for a store-bought one again. Made with just 4 simple ingredients-flour, salt, lard, and buttermilk-this recipe makes two crusts that bake up tender and delicate, yet still deliver that signature flaky texture us Southerners know and love. Perfect for any pie or quiche, it's the kind of crust that turns every bite into comfort.
If you know me, then you know I wholeheartedly believe in a homemade pie crust and never buying store bought kind. The little bit of extra effort is so worth it for the flavor payoff - and it's only 4 ingredients and not, well, ya know....more than that. 😉
My mom's traditional southern pie crust was one of the first things I learned to make and I have the recipe memorized by heart. I was recipe testing a couple of new things for the year that used buttermilk as a main ingredient and I had a bunch left over. During this time, I had the thought to use buttermilk as the liquid in a pie crust instead of water and what resulted was SO GOOD!
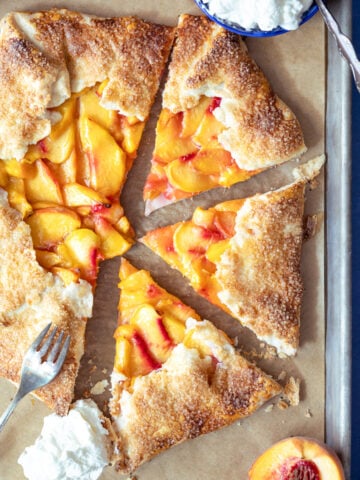
It was the same flakiness of my normal pie crust (thank you, lard), but it had this tenderness to it that I am obsessed with. It paired perfectly with my new fresh peach pie this summer and we have all been obsessed.
Let me show you how to make it in your own home, and my modern day Southern girl takes on making homemade pie crust even easier - without 100 different baking options (because, y'all I ain't got time for that ;))


⭐️Heather's Personal Tip ⭐️ this step can also be achieved with a food processor and it takes a little less time than using a pastry cutter and doing by hand. I alternate what I use depending on my mood and how many dishes I want to do TBH lol.

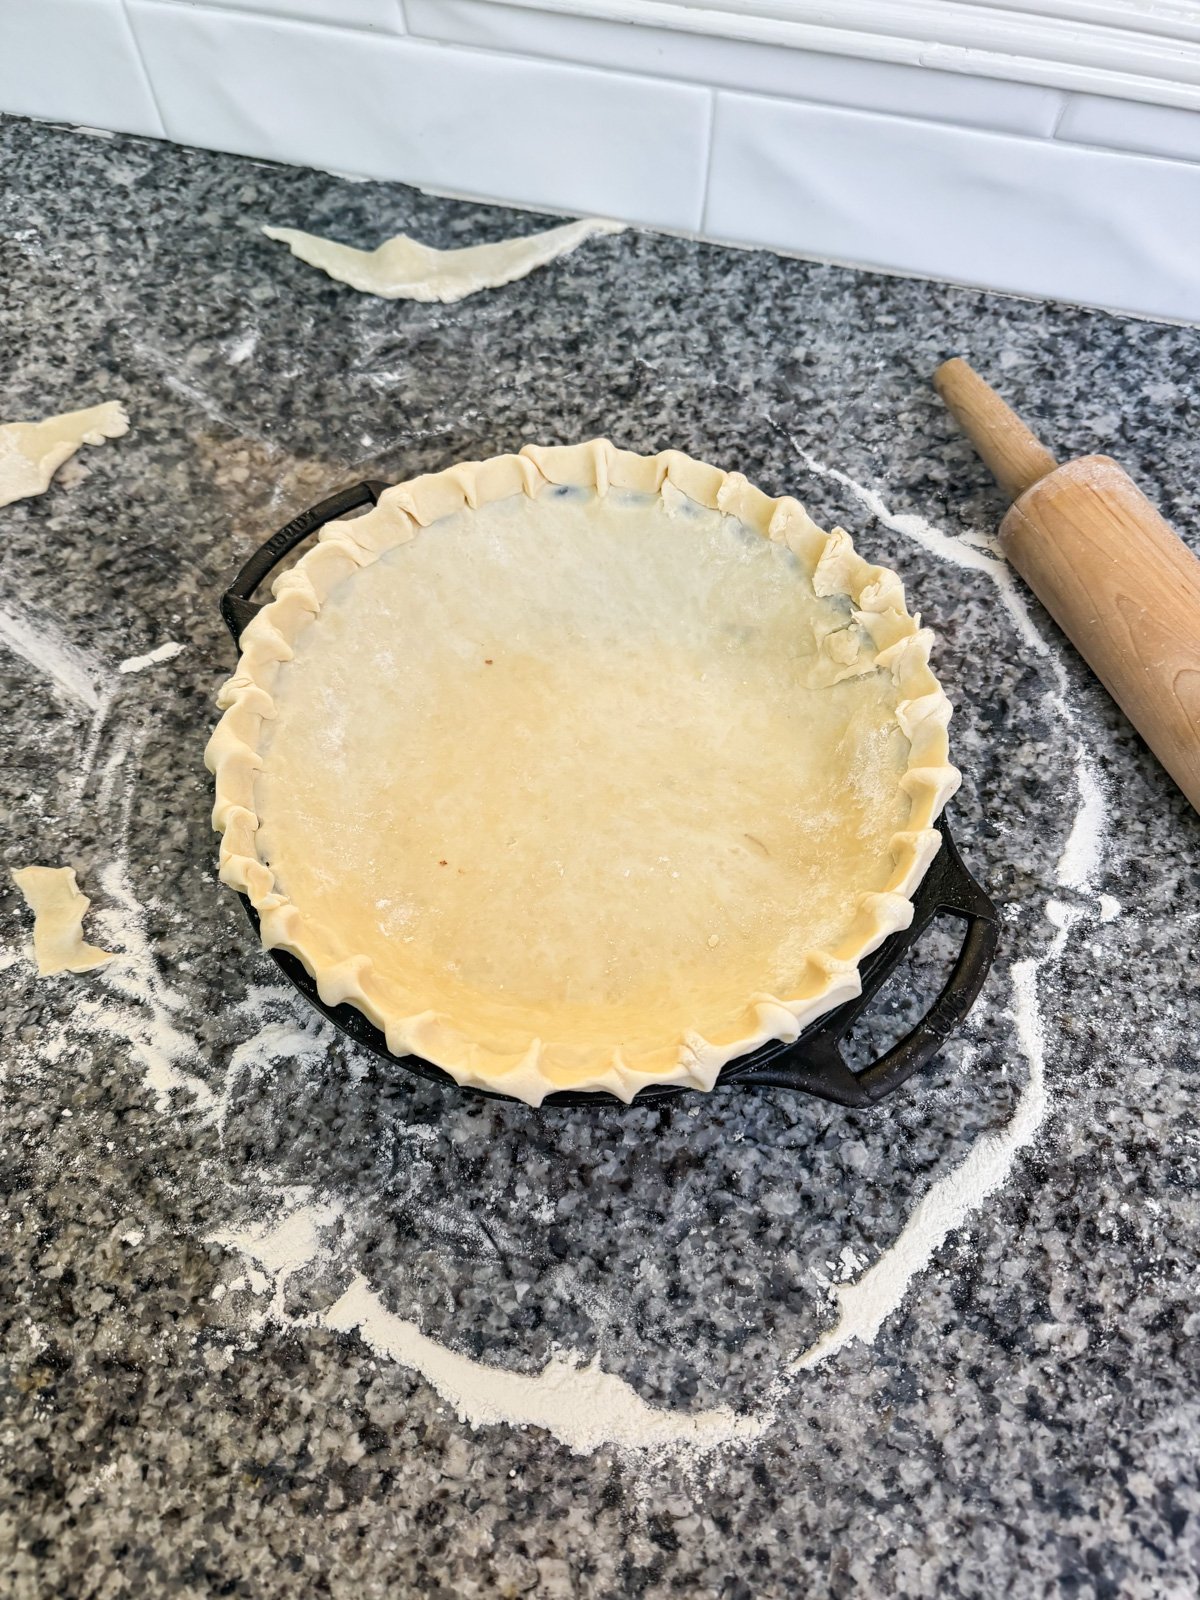
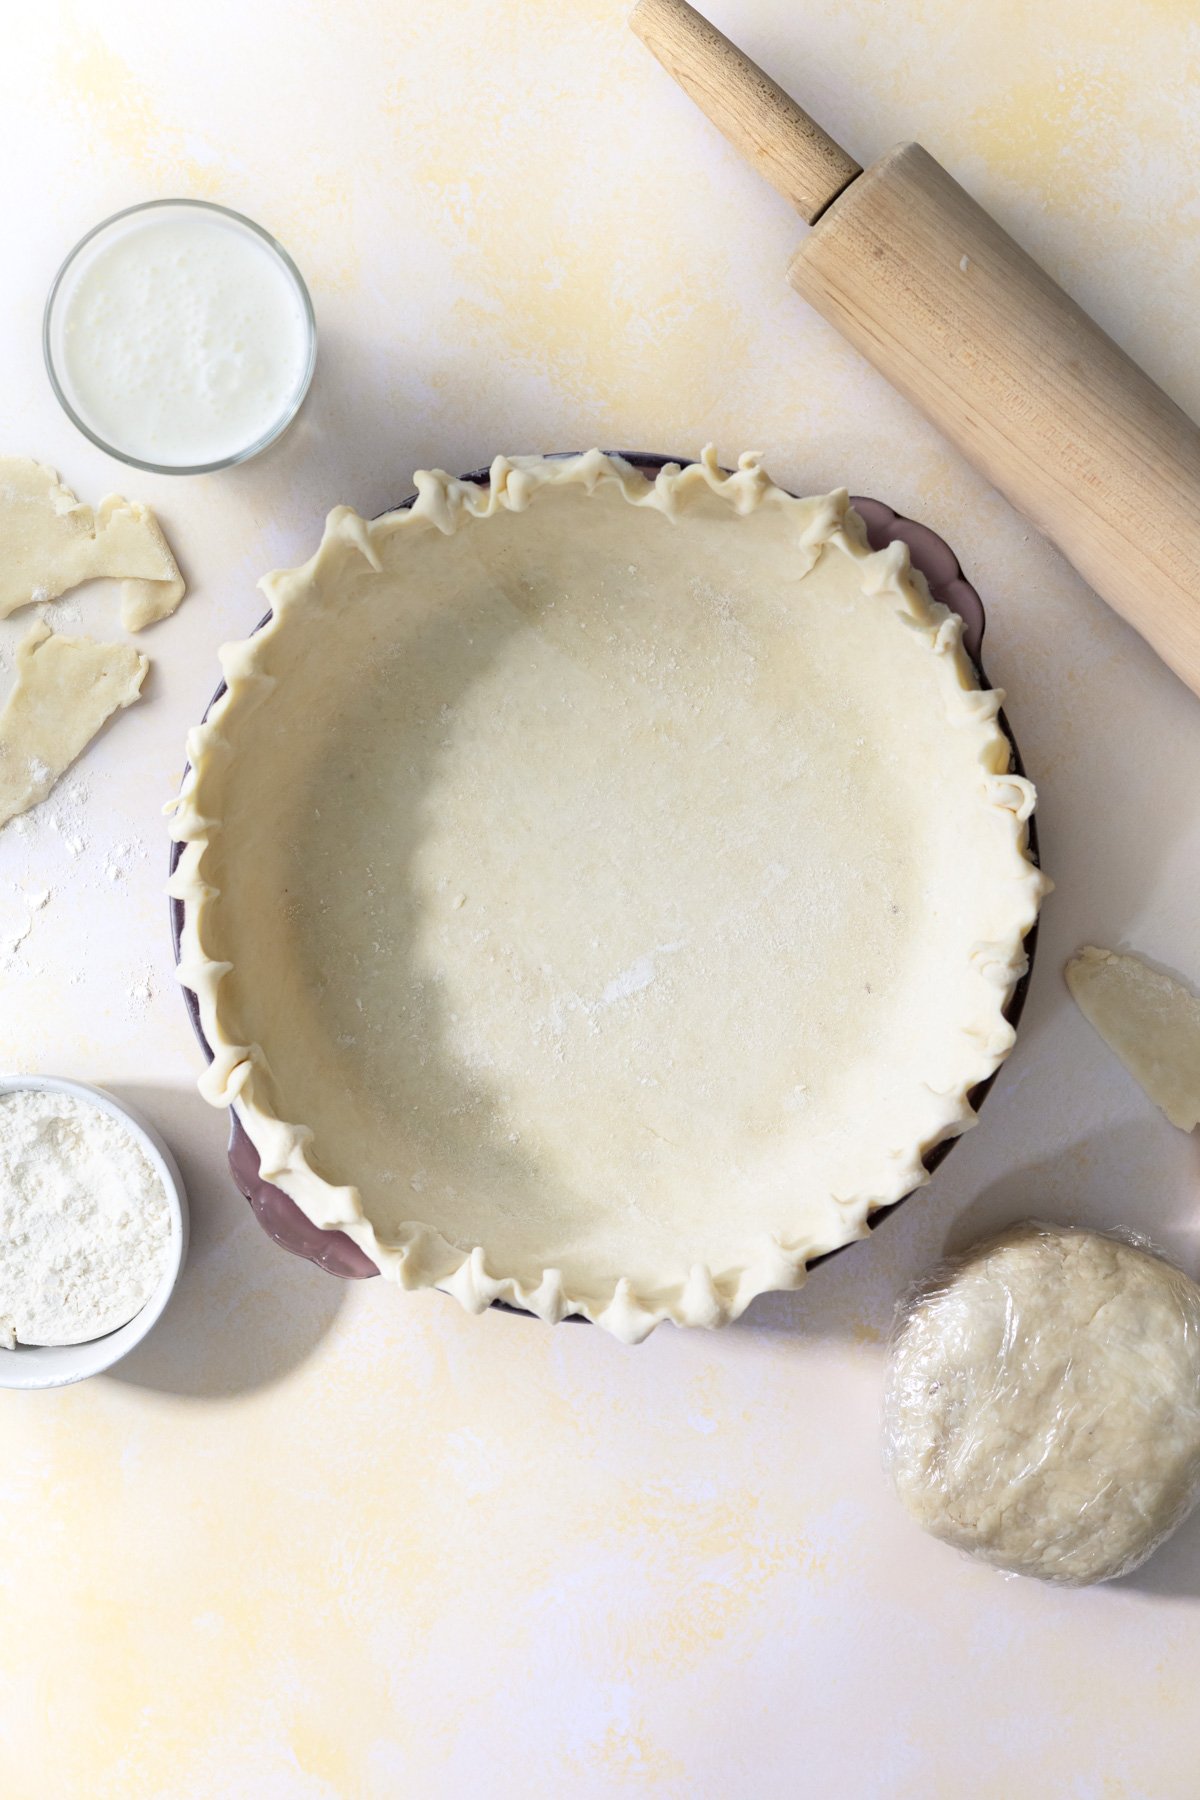
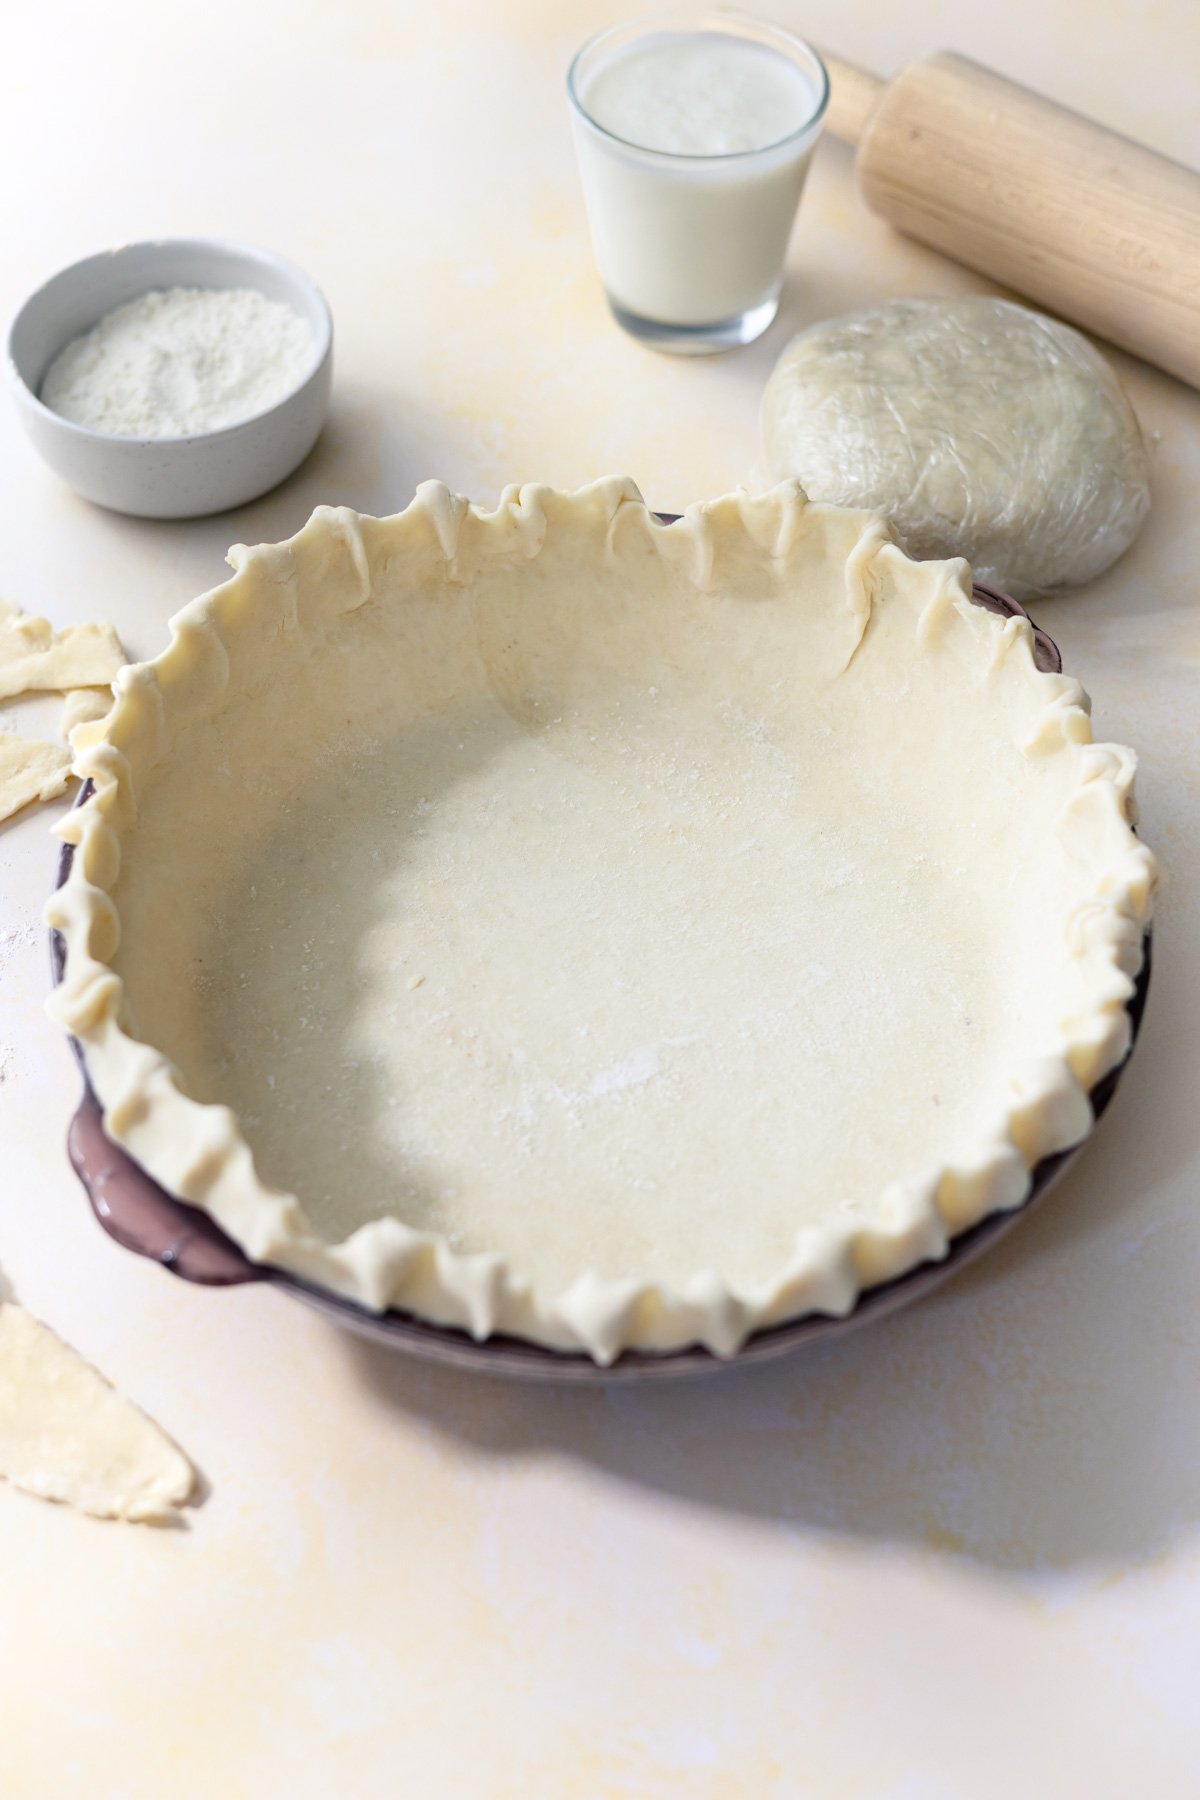
⭐️ How I like to crimp the edges ⭐️ - everyone has their methods/ways they like to do the edges - this is how I was taught. Gently fold the excess crust under itself on the edge, forming a "roll" of crust. With your pointer finger and thumb on both hands, gently pinch together the crust, then push both hands together to meet, forming a small pinch. Repeat around the entire crust.
From here, there are a few different ways to bake and use your pie crust, and it really just depends on what kind of recipe you're making. As a modern-day Southern gal who loves keeping things simple, here's how I break it down (ps - no blind baking required!):
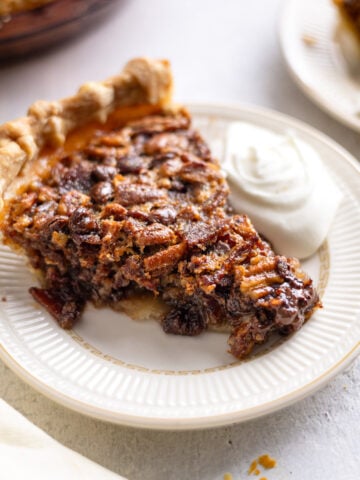
- For pies with a wet or custard filling (like bourbon bacon pecan pie or bacon and cheddar quiche), skip the blind bake. Just press your crust into the pie dish, pour in your filling, and bake as directed. The sides and top will still get golden and flaky-the bottom may not be quite as crisp, but it'll be cooked through and still delicious. Sometimes saving a step is worth it - make it simple and easy!
- For cream or no-bake pies (like coconut cream or lemon meringue), you'll want to fully bake your crust. Press the crust into your pie dish, line with parchment paper and fill with dried beans or pie weights. Bake at 375°F for 30-35 minutes, or until golden and cooked through. Let cool for 10 minutes before removing the weights. Then proceed with the recipe as directed.
- This recipe makes 2 crusts, which is perfect for pies that need a top and bottom crust, like Granny Smith apple pie or peach pie. If you're only using one, you've got options!
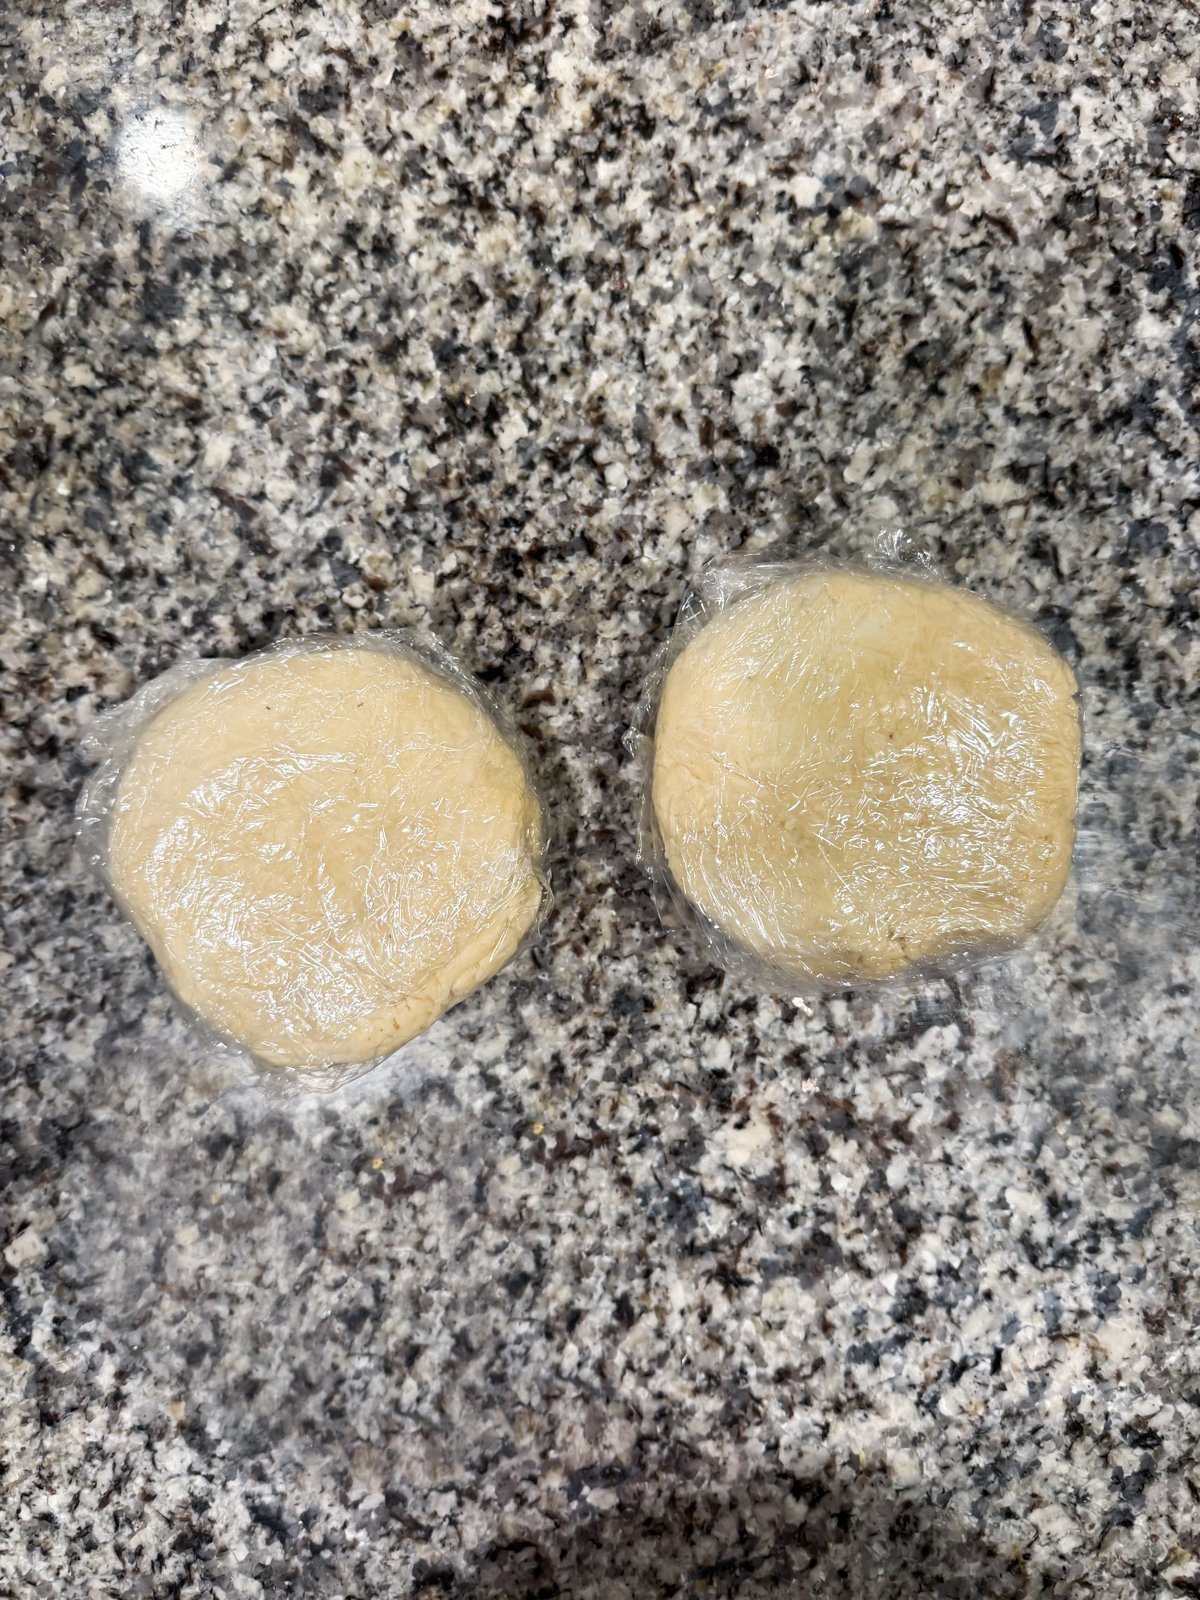
- To freeze for later: Prep your extra crust in a pie plate, flash freeze for 30 minutes, then wrap tightly in plastic wrap (three times!) and store in the freezer for up to 6 months. Say hello Thanksgiving pie prep done ahead of time!
- To chill for later: Wrap your pie crust tightly and keep it in the fridge for up to 2 days until you're ready to use it.

Recipe
Tender Pie Crust made with Buttermilk
- Total Time: 20 minutes
- Yield: 2 crusts 1x
Description
Once you taste this buttermilk pie crust, you'll never reach for a store-bought one again. Made with just 4 simple ingredients-flour, salt, lard, and buttermilk-this recipe makes two crusts that bake up tender and delicate, yet still deliver that signature flaky texture us Southerners know and love. Perfect for any pie or quiche, it's the kind of crust that turns every bite into comfort.
Ingredients
- 2 Cups Flour
- ¾ Cup Lard
- 1 Teaspoon Salt
- 8 Tablespoons Cold Buttermilk
Instructions
- In a large bowl, combine the flour, salt, and lard.
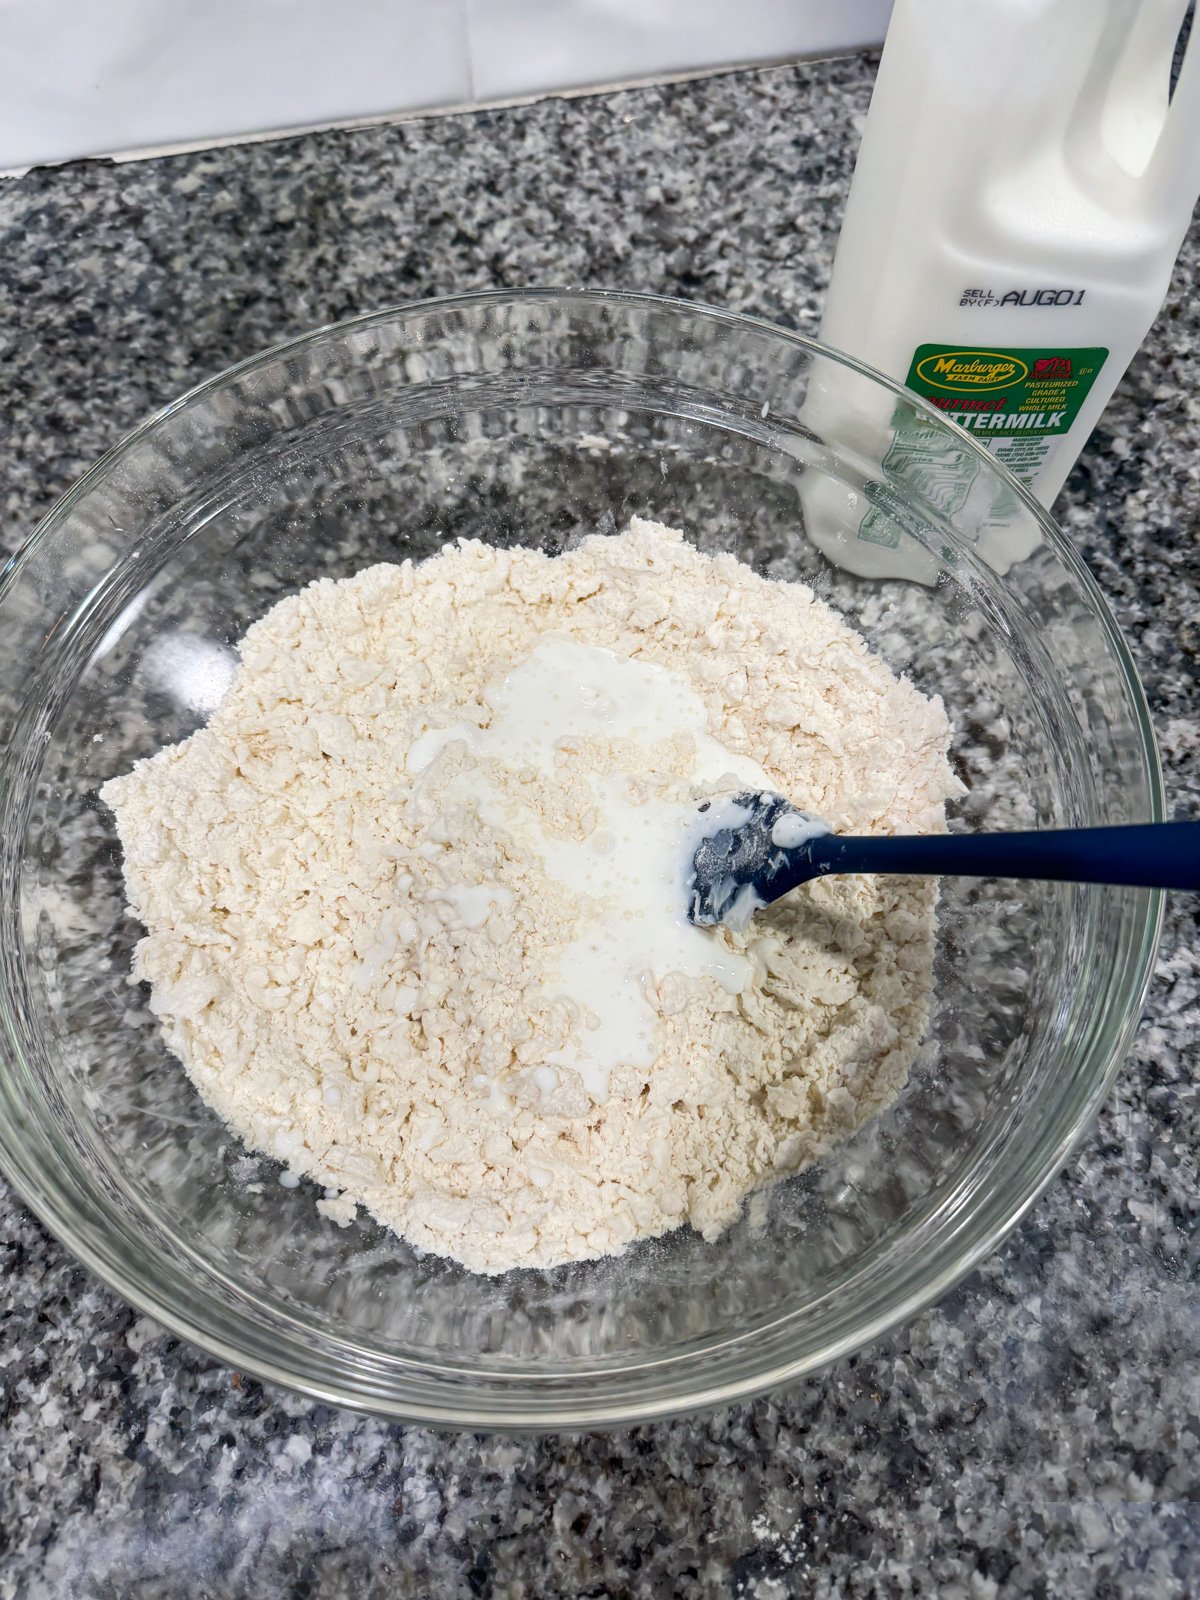
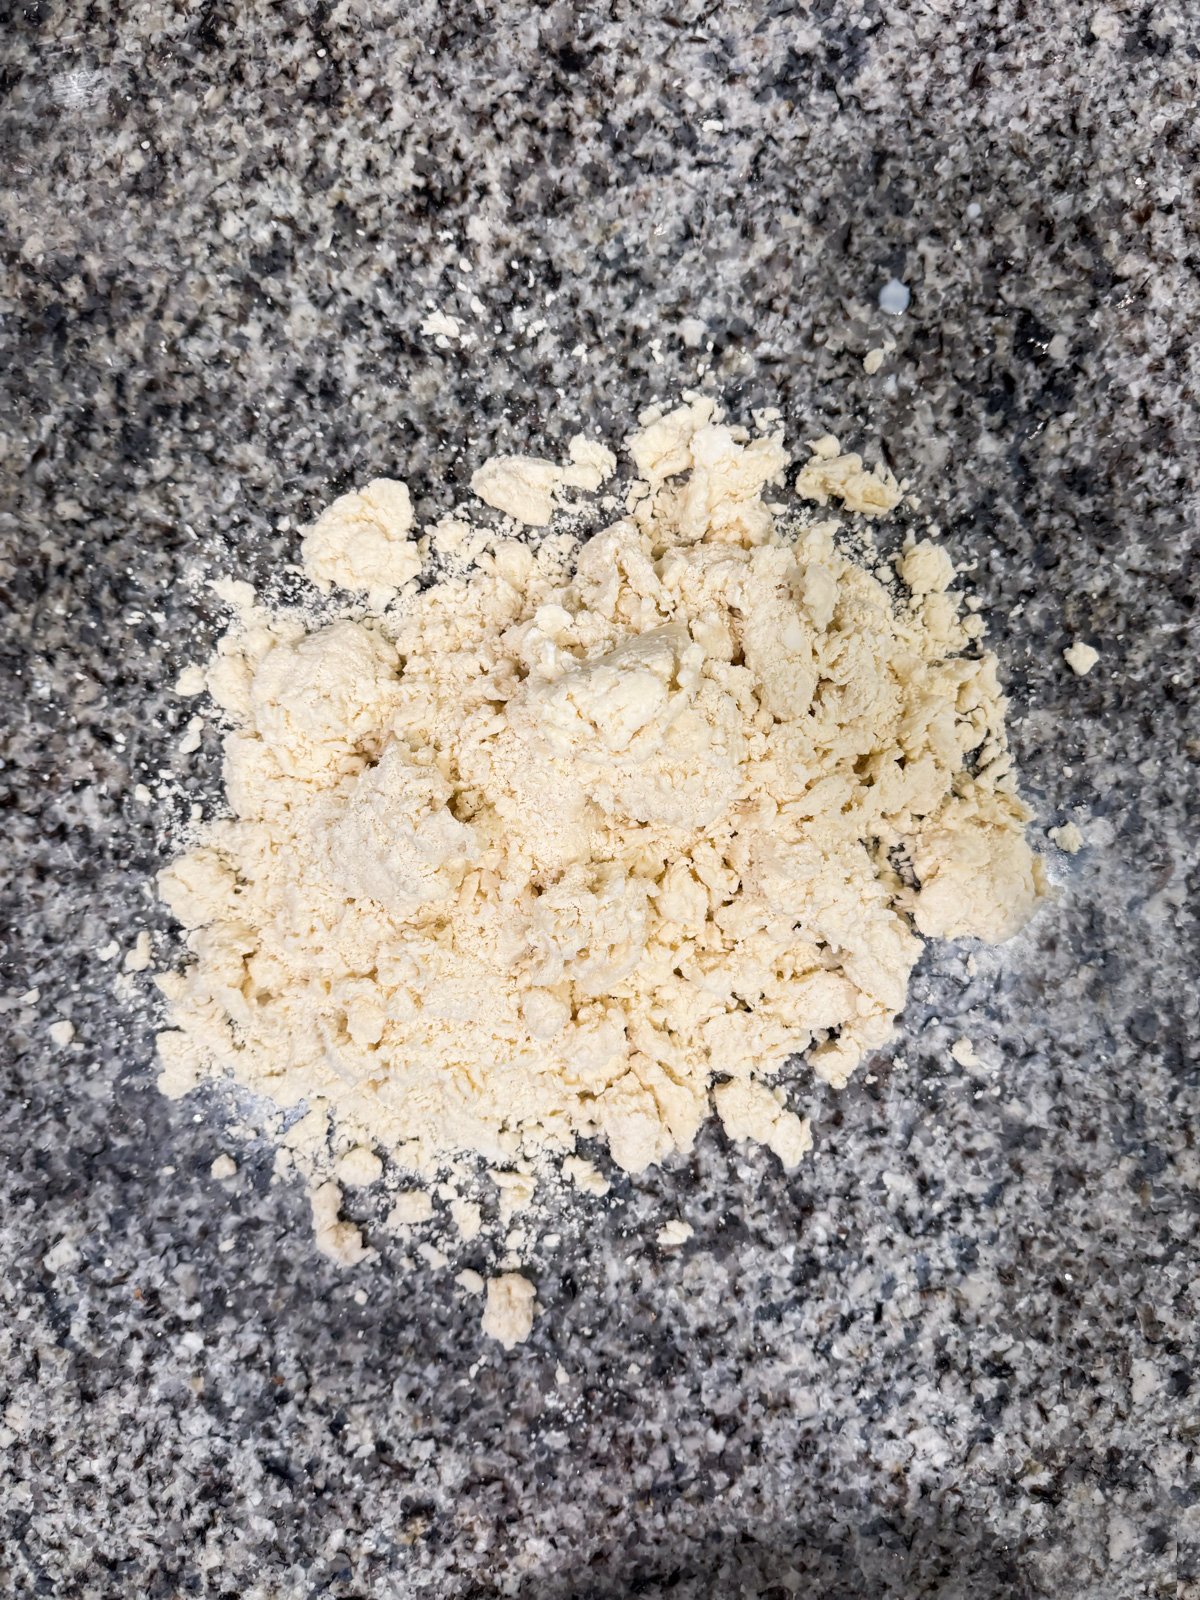
- Use a pastry cutter to cut the lard into the flour until the mixture looks like small peas.
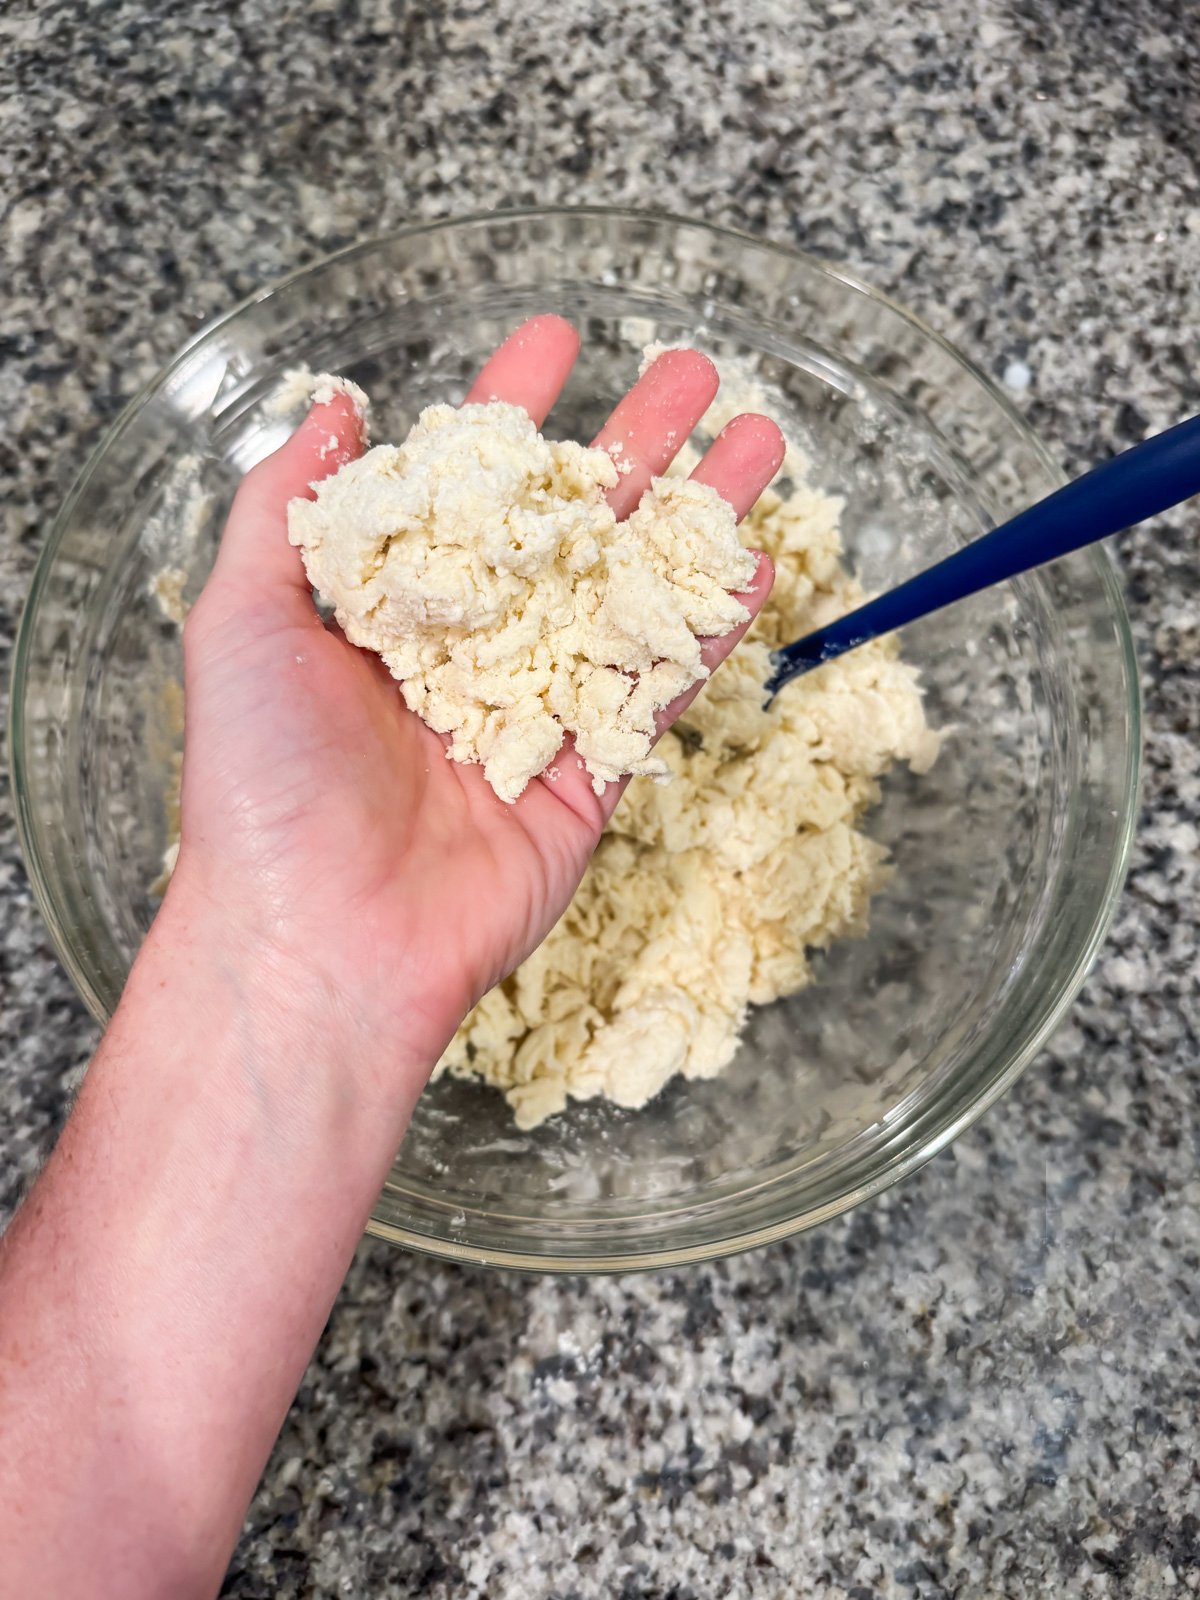
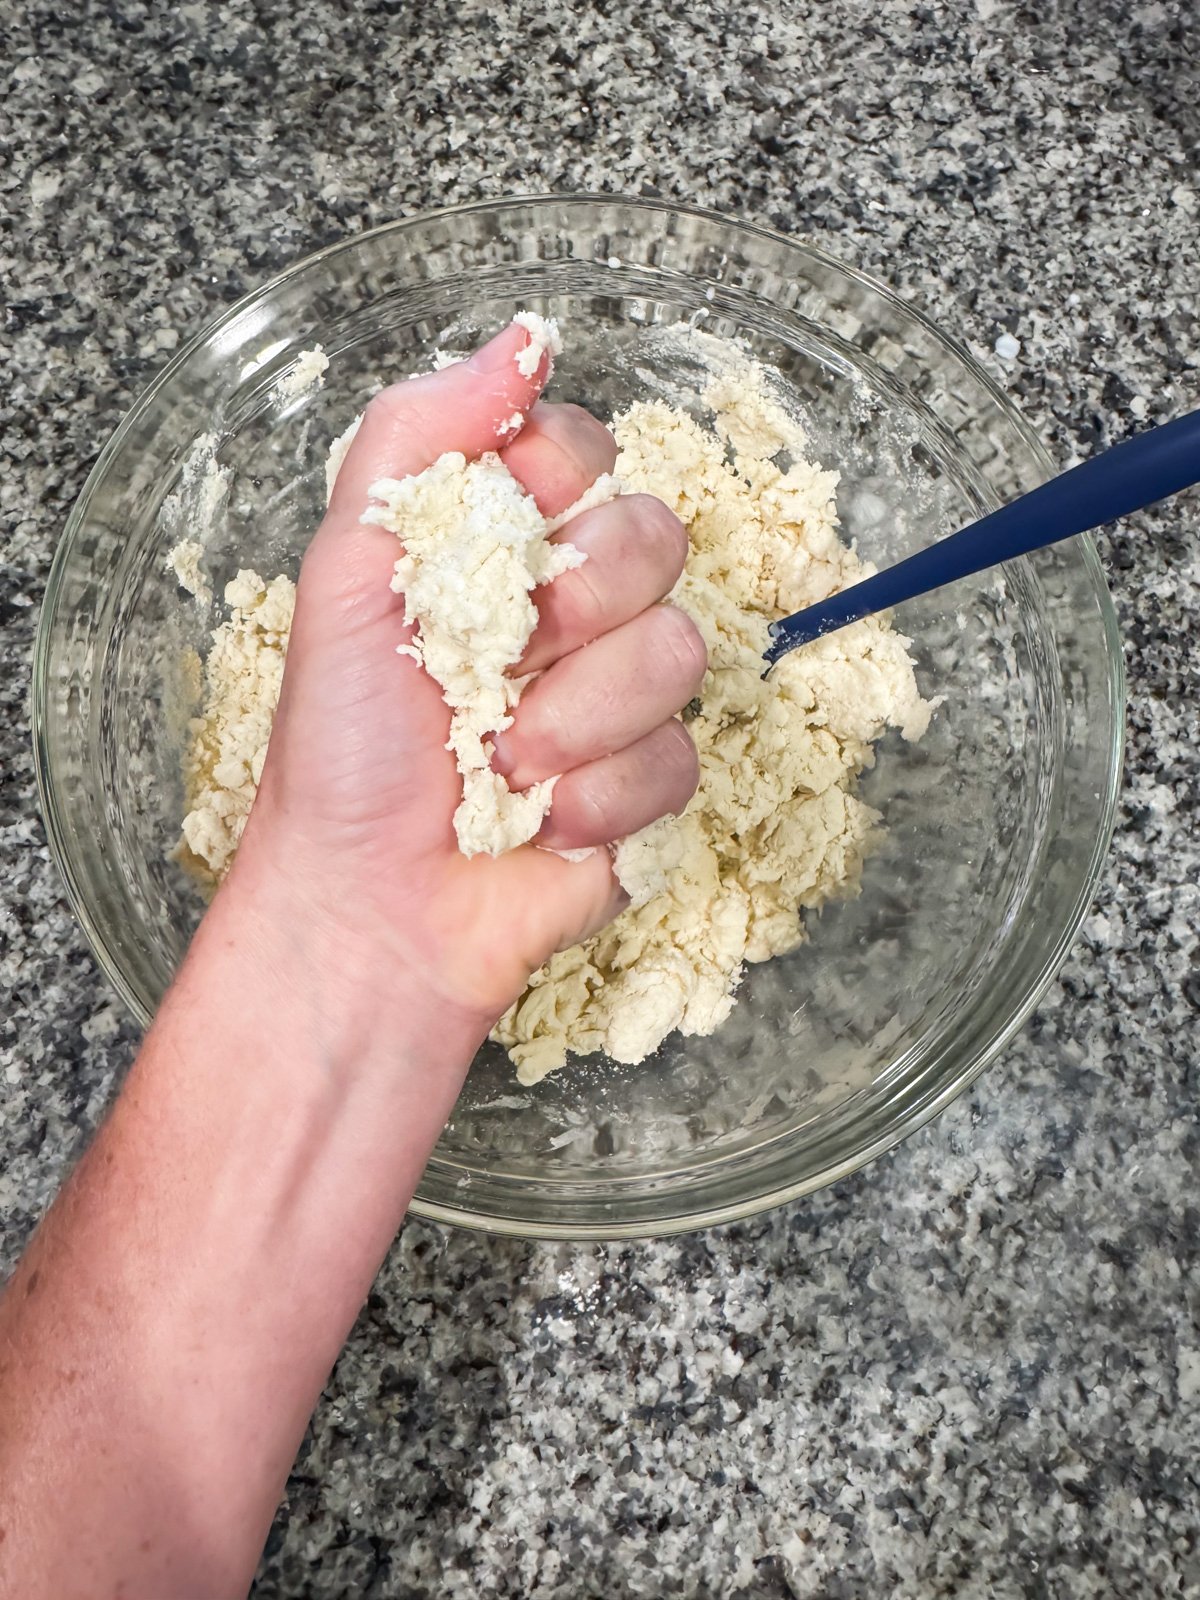
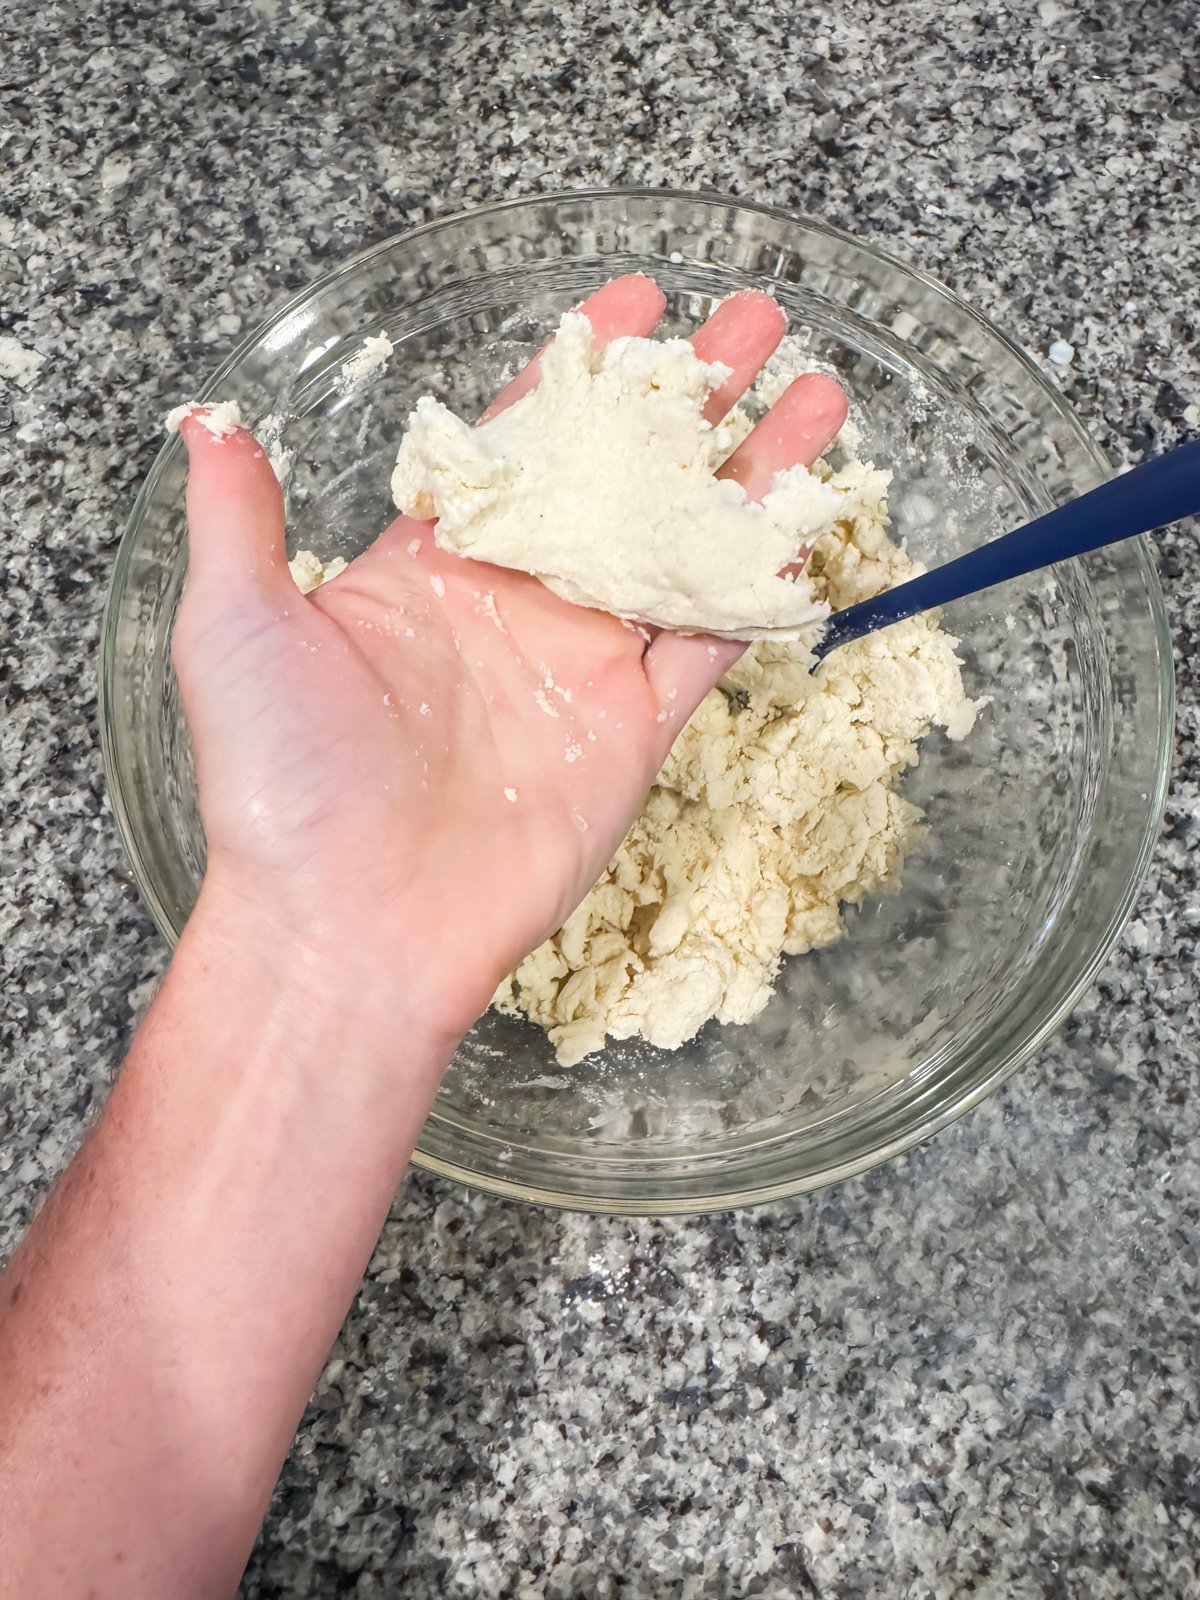
- Add the cold buttermilk to the flour mixture and stir with a spatula until just coming together. It should hold when squeezed but not feel sticky or wet - alternatively, not be dry and crumbly..
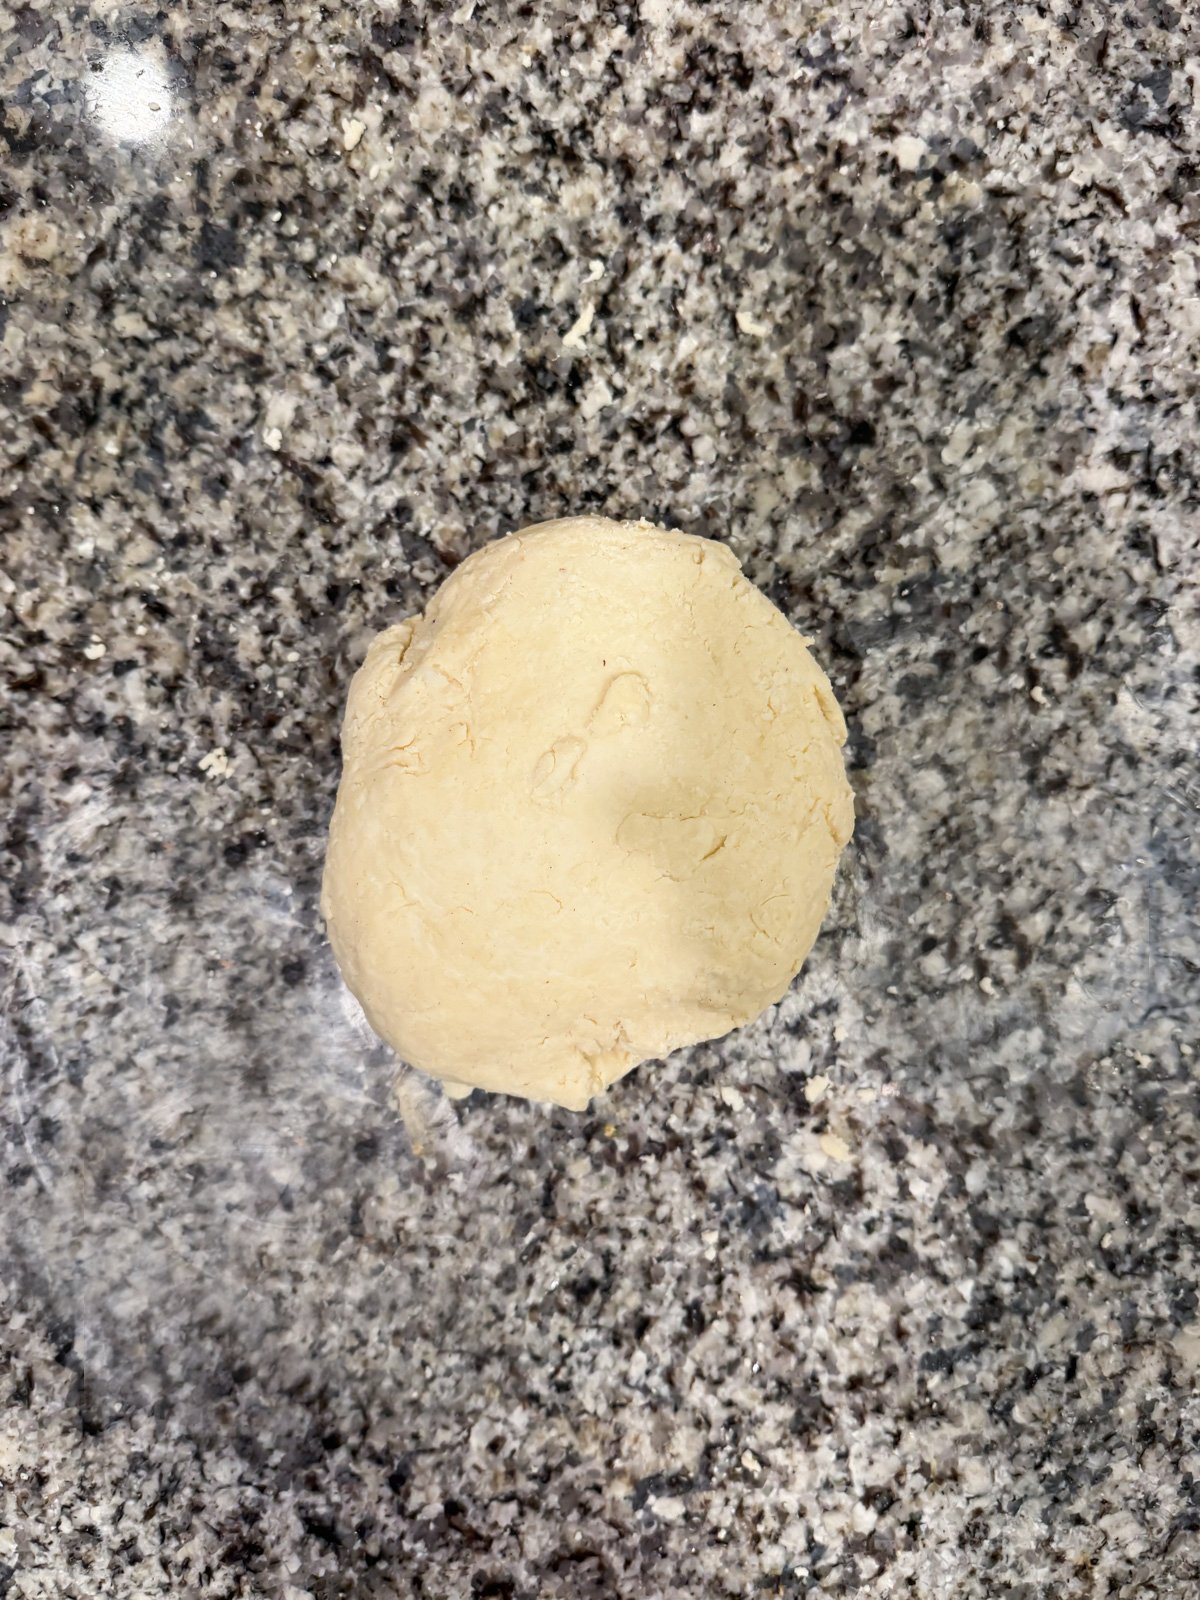
- Lightly flour your counter and turn the dough out. Bring it together into a ball, then divide in half to make two dough balls-this recipe makes two crusts.
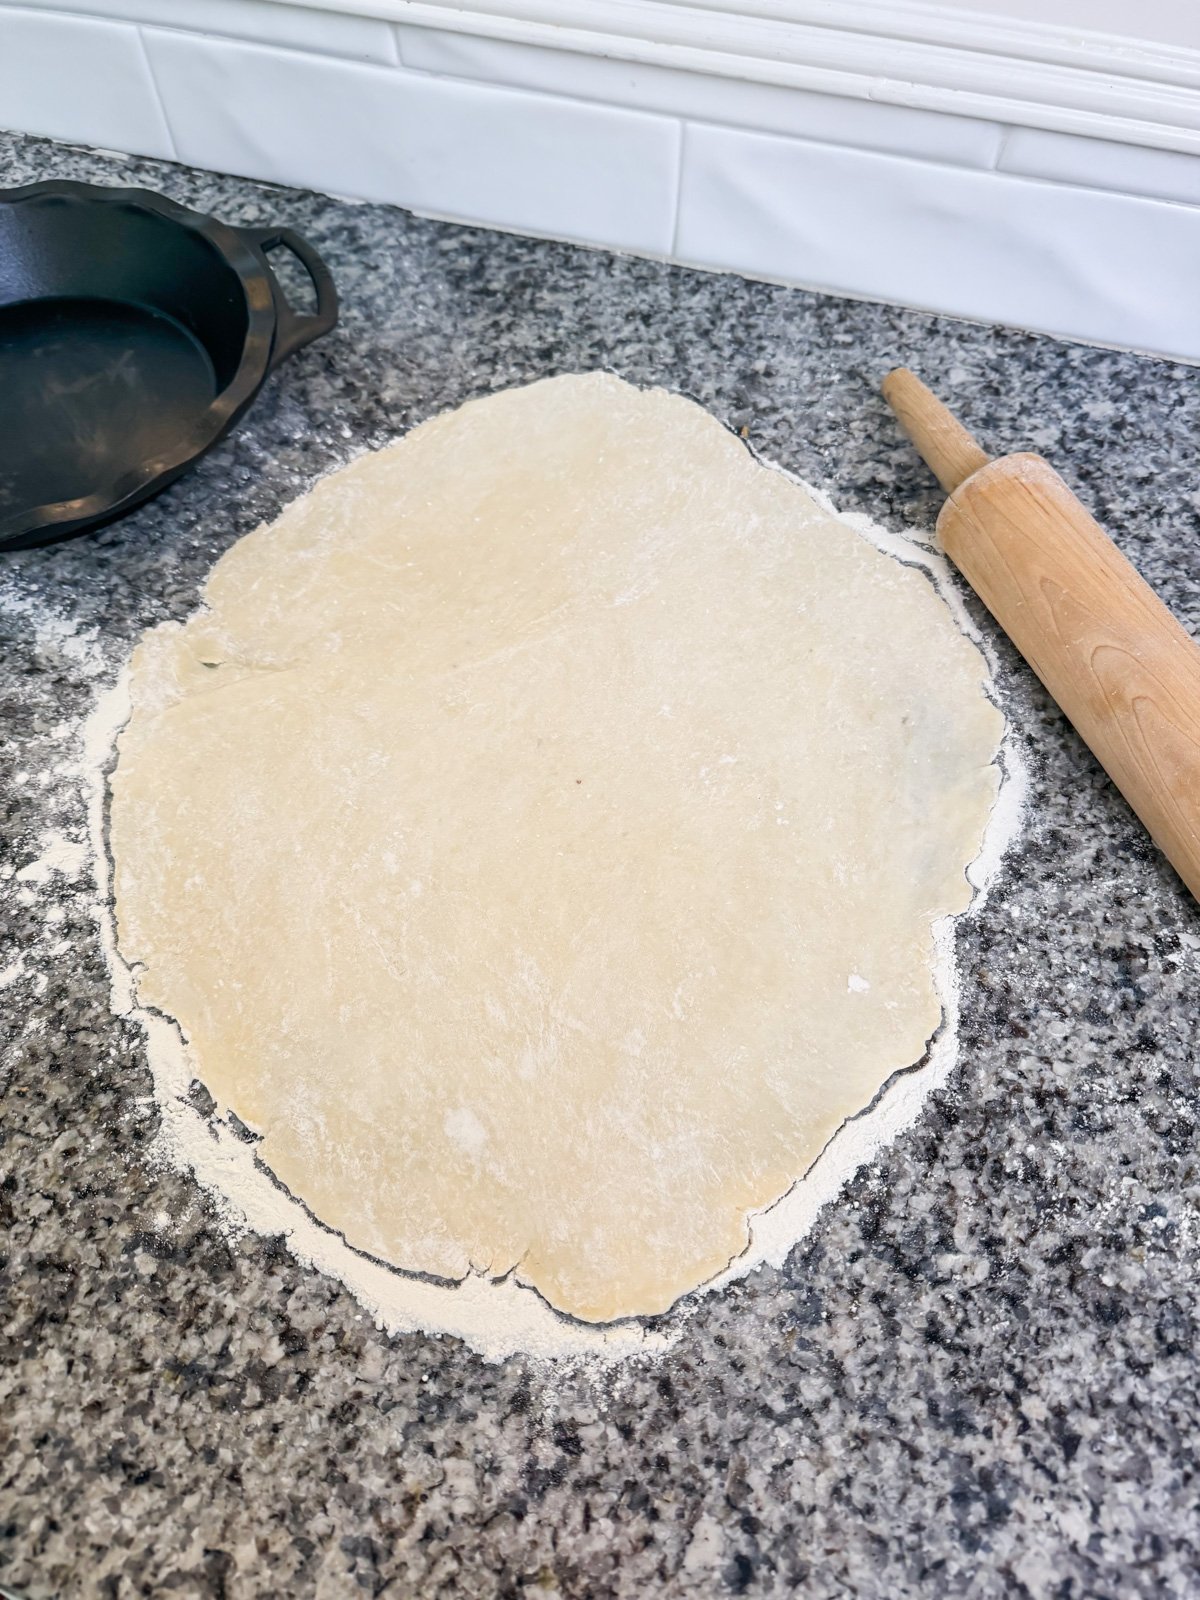
- Roll one dough ball into a circle, slightly larger than your pie plate.
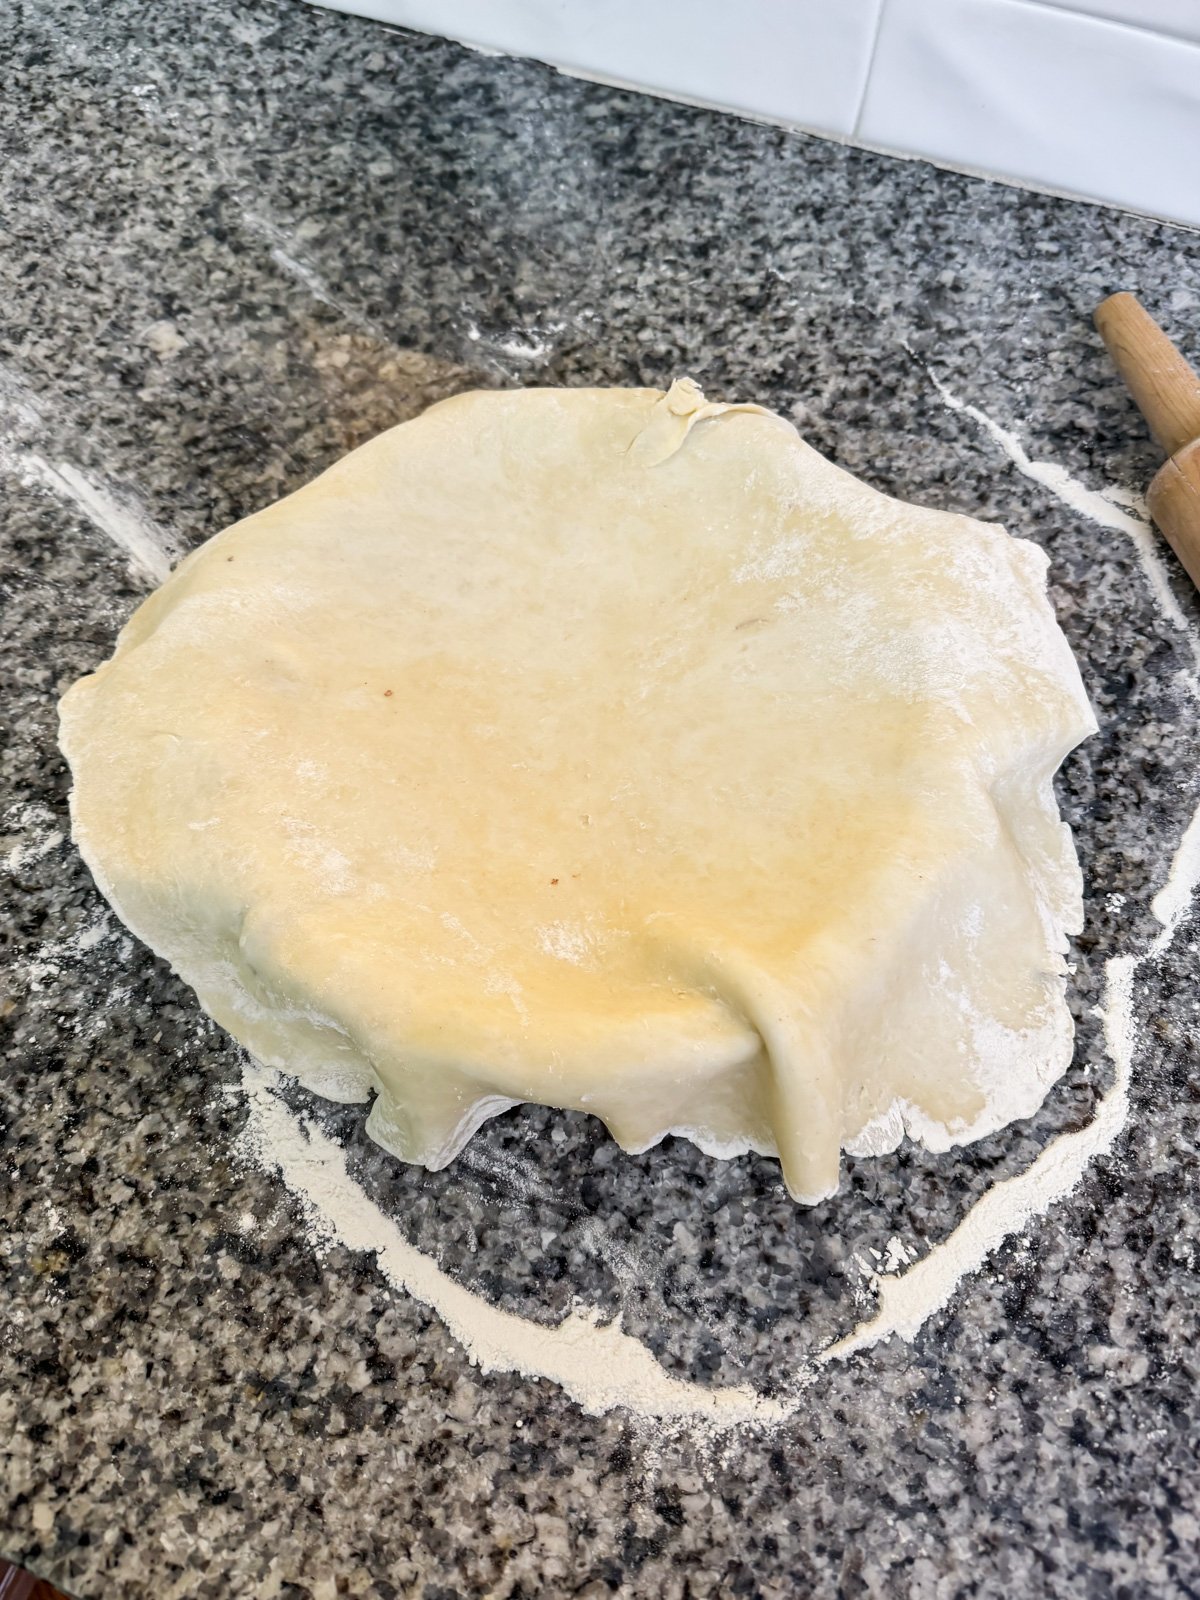
- Gently lift the dough and place it into the pie plate, pressing it evenly into the bottom and sides.
- Trim any overhang, then crimp the edges using your fingers (fold excess under itself, then pinch gently with your thumbs and forefingers to make a fluted edge).
- Repeat with the second crust, use it as a top crust, or prepped in a pie plate, wrap and freeze for later.
Notes
Pie Crust Tips
- No-bake pies? Fully bake the crust at 375°F for 30-35 minutes with pie weights.
- Custard pies or quiches? Skip blind baking-just fill and bake! The sides get flaky, the bottom stays tender.
- Only need one crust? Freeze the second in a pie plate-wrap well and store for up to 6 months - the other in a dough ball or already prepped and crimped in a pie plate.
- Make ahead? Wrap and refrigerate dough for up to 2 days.
- Prep Time: 20 minutes
- Cook Time: 0 minutes
- Category: Dessert
- Method: Baking
- Cuisine: American
Nutrition
- Serving Size: 1 crust
- Calories: 1163
- Sugar: 1.5 g
- Sodium: 1189.3 mg
- Fat: 78.9 g
- Carbohydrates: 96.5 g
- Fiber: 3.4 g
- Protein: 13.6 g
- Cholesterol: 75.6 mg